Archive for April, 2014

Pompom Creatures

Making pompoms can be a project unto itself. Wrapping yarn around your hand over and over again, then tying it in the middle and snipping the loops can provide an hour of simple entertainment for young children. Considering how easy it is to come by inexpensive yarn, this is cheap fun. Raid Aunt Sarah’s closet, ask the lady in the next cubicle who’s always knitting through meetings for her project leftovers, pillage the sale bin at your local yarn store or sign up for the 40% coupon offered by the suburban craft superstore.

20140330-121340.jpg

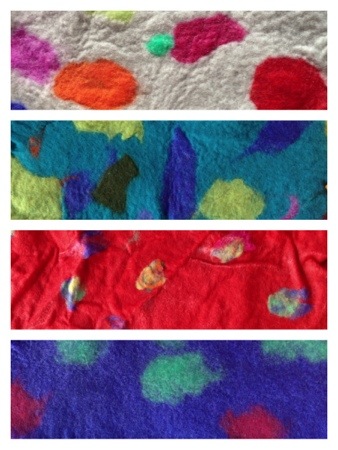
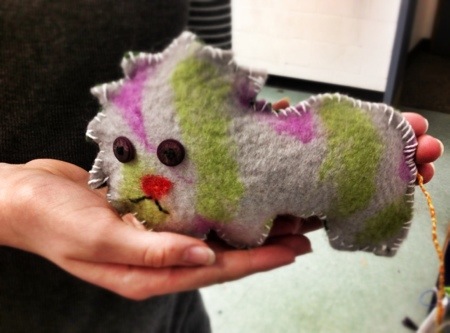
A bowl full of buttons and some cotton yarn took this little pompom project to another level. For my class sample, I glued ears cut from scrap bits of felt and then glued a small piece of yarn into the shape of a mouth. My pompoms are dense little nuggets after a whole lot of snipping and trimming. If you like the loose and floppy look, don’t trim so much.

20140330-121351.jpg

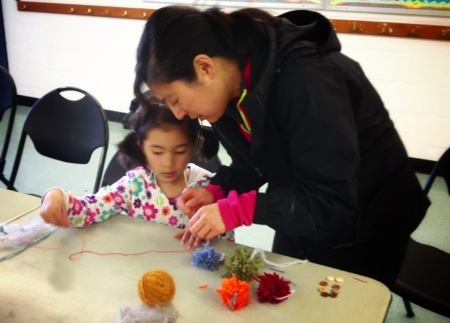
The students in this class range from 5-7 years old. For most students, this project required the assistance of an older sibling (we have several who come in to help on a regular basis) or an adult. Tying the yarn around the middle of the pompom is almost impossible to do on your own hand, though it would be manageable if you had a nifty plastic pompom maker

20140330-121317.jpg

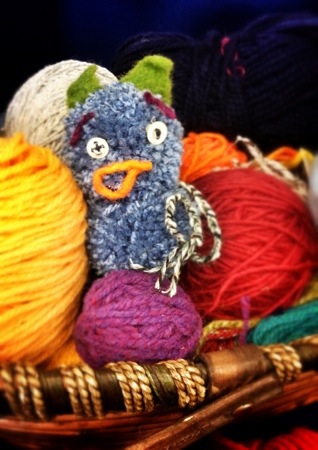
We braided a tail and tied it to the “belt” around the middle of one pompom. This same belt was used to tie to the two pompoms to each other. Button eyes were sewn through the middle of the smaller pompom. Someone (who shall not be named) sewed eyes to the bigger pompom, but failed to convince her student that this was a creature that could see through its bottom, or a creature that walked upside down. The eyes were moved to the correct position and all was well in the world.

20140330-121324.jpg

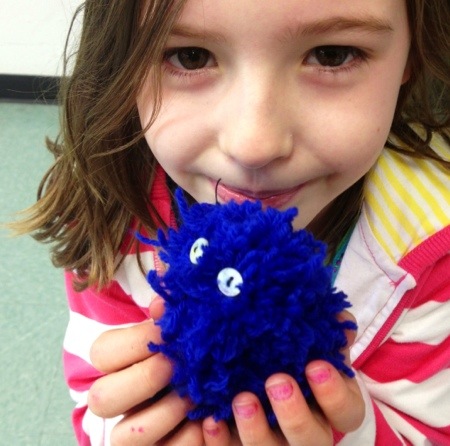
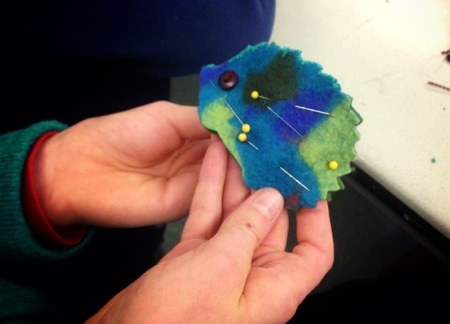
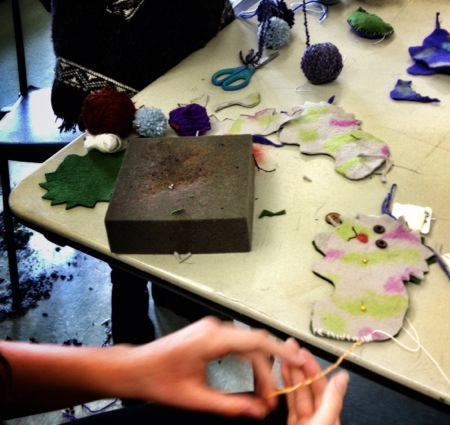
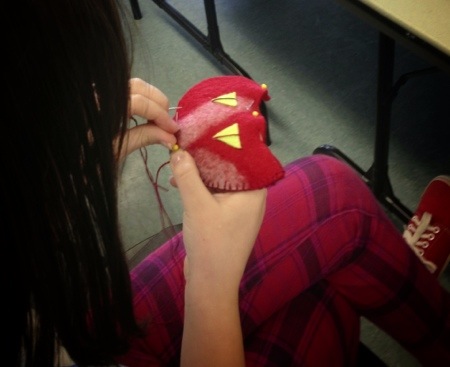
Some students love sewing buttons, but others are reduced to a puddle of frustrated tears at the mention of the idea. A hot glue gun would make short work of the creature assembly, but since this is a hand sewing class, I left my hot glue at home and helped the students thread their needles. They were giddy with excitement over the adorable creatures they had made. One student opted to make a cat toy by tying a long piece of yarn to his pompom and pulling it around the classroom, happily sweeping up the yarn confetti as he went. Whatever floats your boat, as they say.

Simple Felt Stuffed Critters

This was a project that spanned the last two weeks of our session. Students started by wetfelting abstract patterned squares using merino batt from Opulent Fibers.

20140330-123059.jpg

As we are constrained by the limits of a 60 minute period with 15 minutes to clean up before the next class arrives to use the space, the students felted their batts inside a zippered plastic bag, a method I discovered here. This is a great way to contain the mess of wet felting, but still give students the experience of working with roving and seeing the transformation into a new fabric. The only thing I have changed from this tutorial is the addition of a square of bubble wrap inside the zippered bag. This gives the felt a little extra friction as the students rub through the bag.

After using this method many times with dfiferent ages in several classrooms, I have observed most students are tired of rubbing their felt through the bag long before it is done. Singing songs together will sometimes distract students long enough so they can achiever a firm felt, but not always.

The week we wet felted these pieces, most students asked me every two minutes to check on their felt to see if it was done. The only student who really felted her roving into something sturdy enough to use for our subsequent sewing project, worked without stopping and without asking me to check her work for a solid 15 minutes. When class ended, the rest of the pieces needed a little extra rubbing and some hot water to make them super sturdy, so I finished them up at my studio.

20140330-121611.jpg

The week before our class, I photocopied cartoon animal templates from the back of several craft books. My intern cut out the templates, traced them onto cardboard and cut them out again. Students traced two identical patterns onto their felt with a marker and then cut them out.

20140330-121639.jpg20140401-203917.jpg20140330-121702.jpg

They added features to their stuffies with buttons, needlefelting, and embroidery stitches. After pinning the two pieces together, they sewed almost all the way around the perimeter, using either a whip stitch of a blanket stitch. Leaving a small opening, they stuffed fluffy bits of washed wool into the cavity, then stitched their creature closed. Aren’t they sweet?


Flickr Photos

Categories