Shut Door; Open Window

The time has come for me to transition into something new. Developing an identity as a crafter, becoming an artisan and a teacher and then running my practice as a business has given me a focus and a flexible occupation while my children needed my active support. I have explored this side of my personality and now I’m satisfied with what I have learned.

teacher

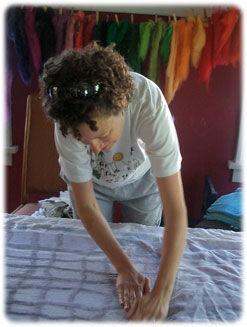
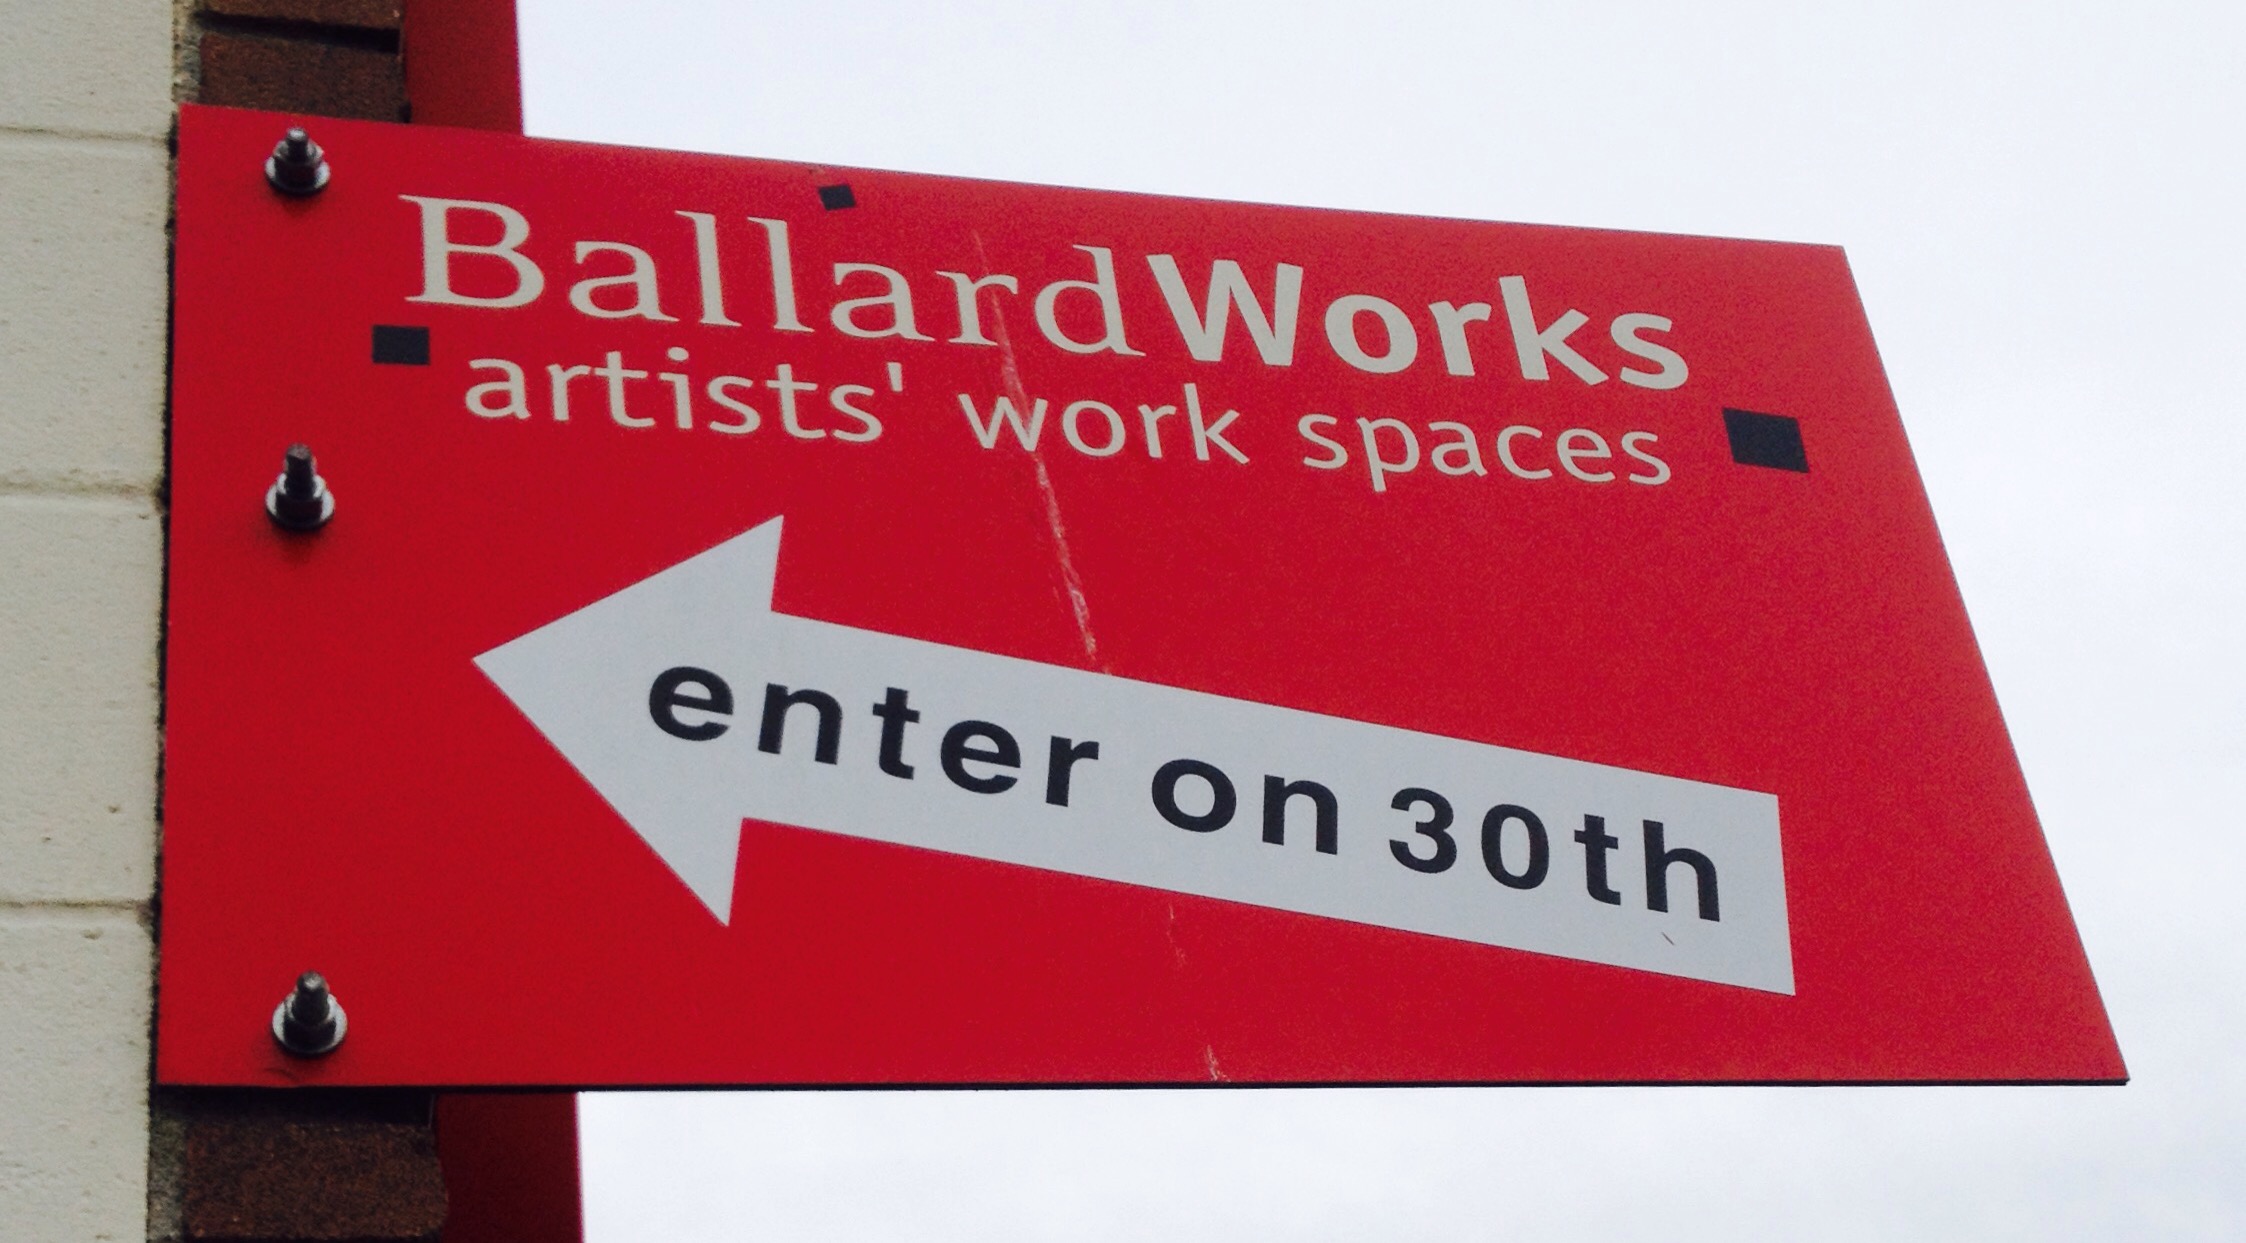
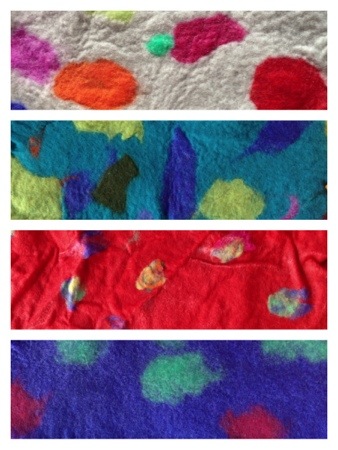
In 2006, I discovered the art of turning wool roving into felt by borrowing books from the library and diving in. After working on my kitchen table for two years, then moving into a small studio in my basement, I rented a studio in the BallardWorks building in November 2010.

IMG_8695.JPG

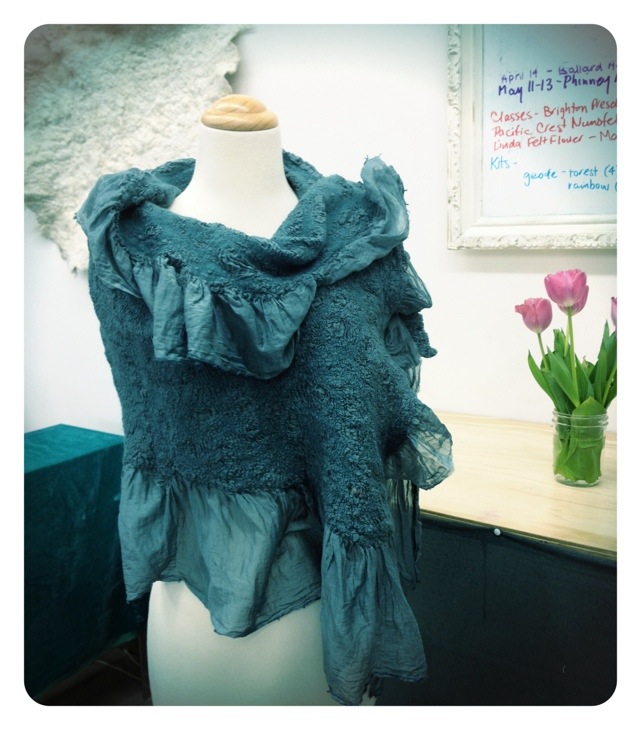
My hope was to concentrate my full energies on exploring the tradition of feltmaking, methodically moving through material, process and technique. The studio gave me the space to get really messy, and to begin teaching.

IMG_6880.JPG

Over 4 years, I moved into successively larger studios, expanding what I was able to do with each new space.

Screenshot from 2014-02-14 10_55_29

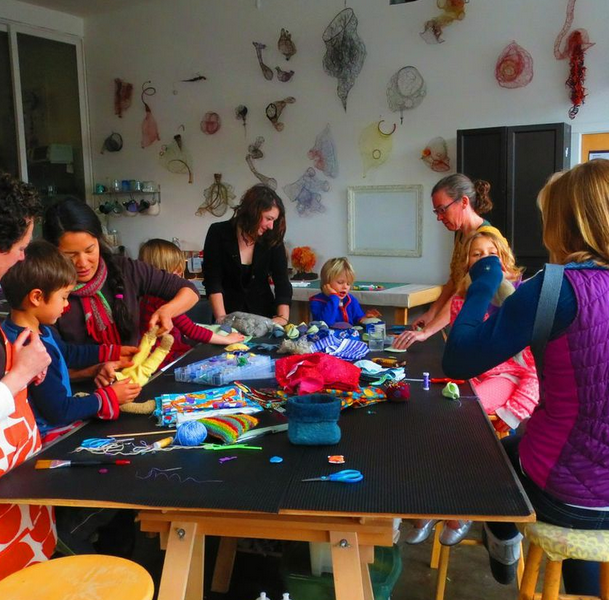
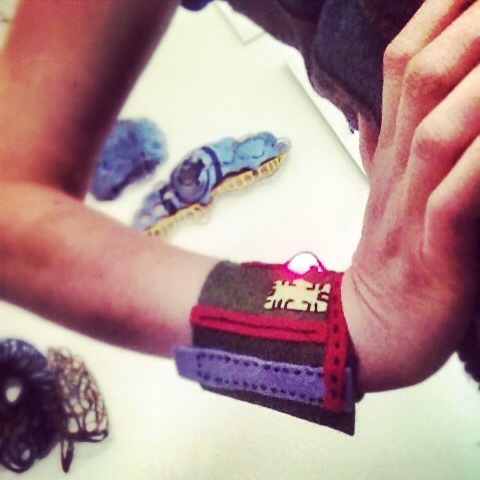
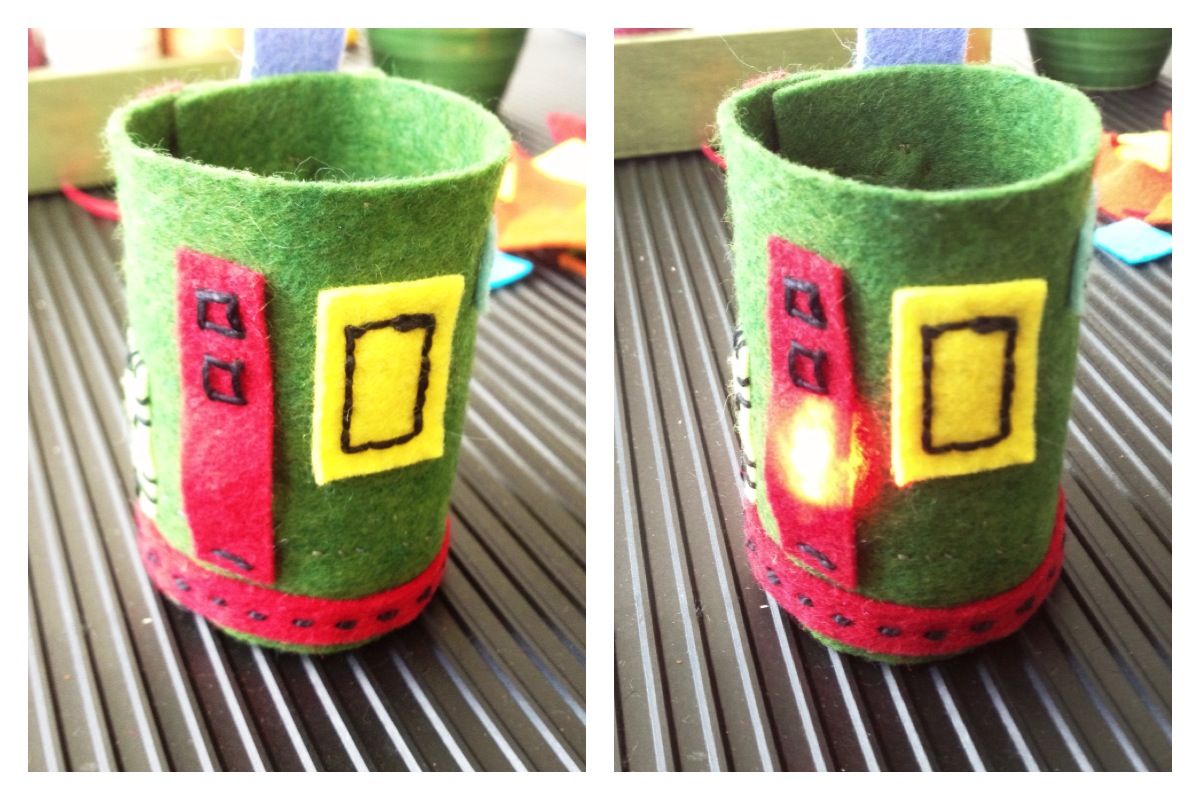
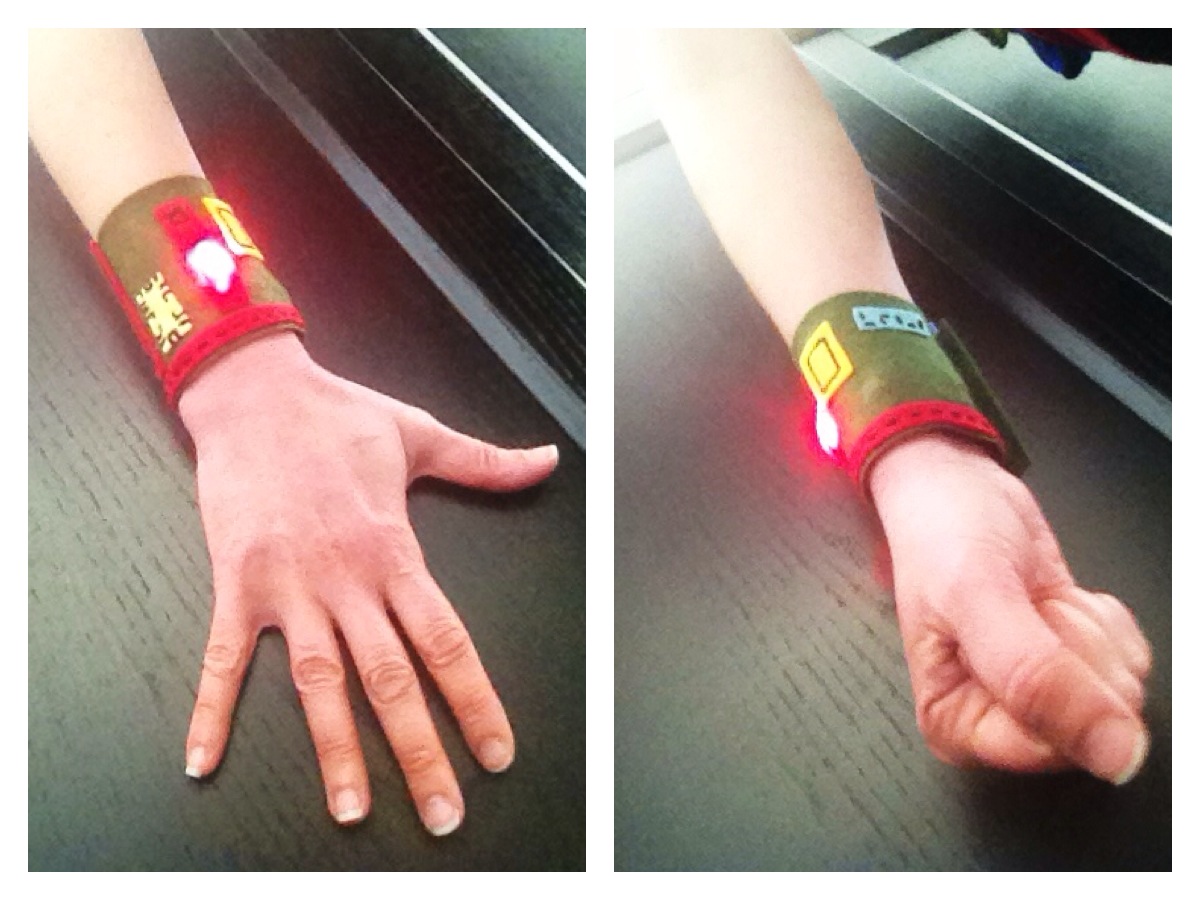
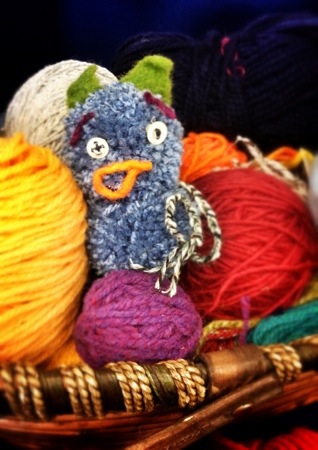
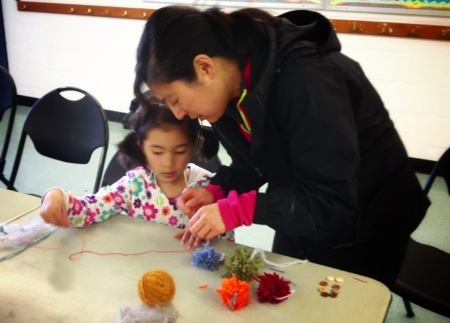
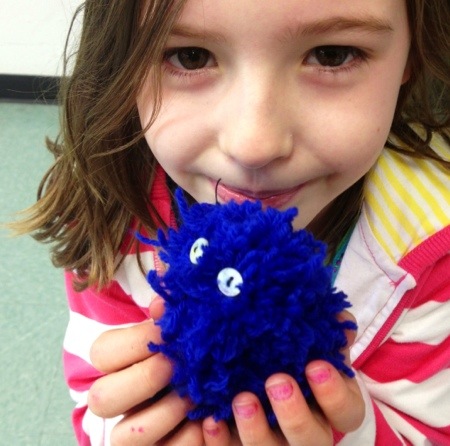
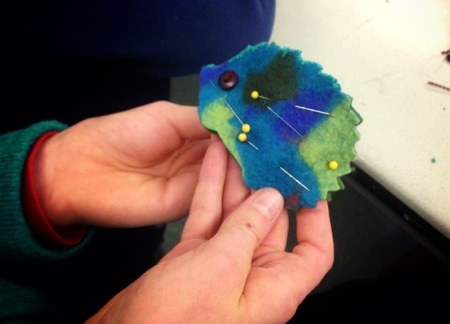
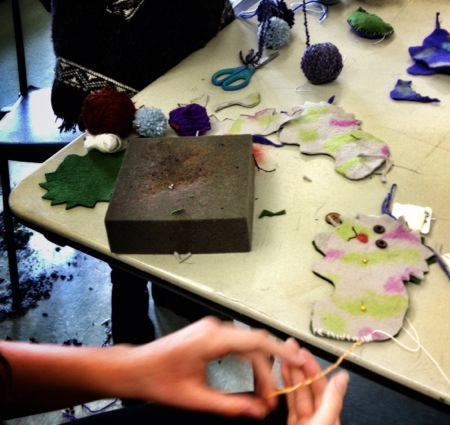
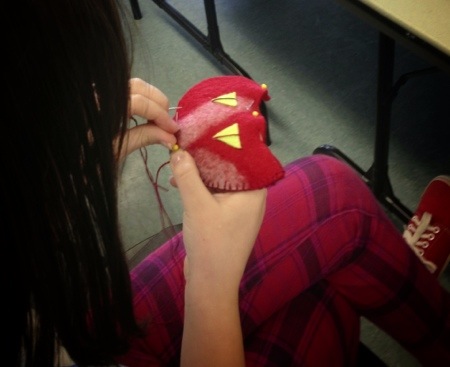
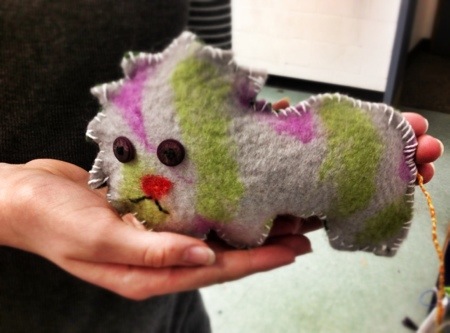
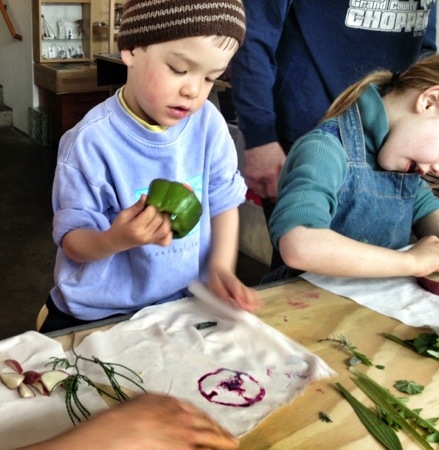
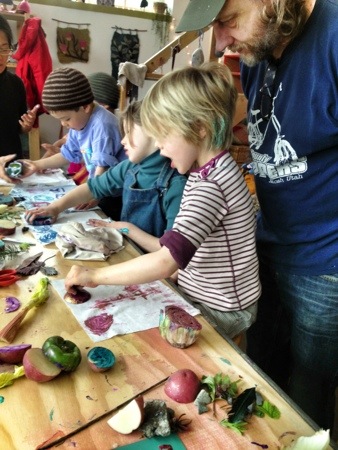
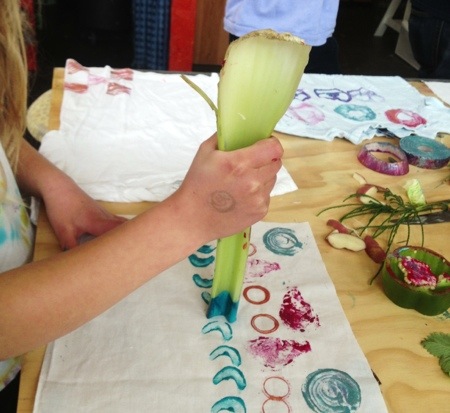
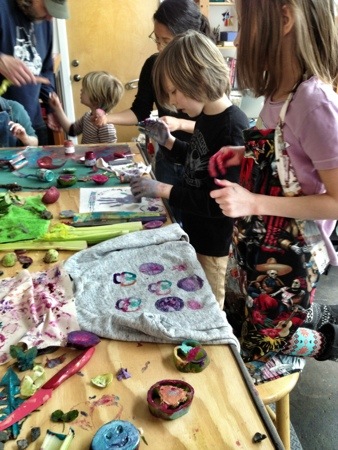
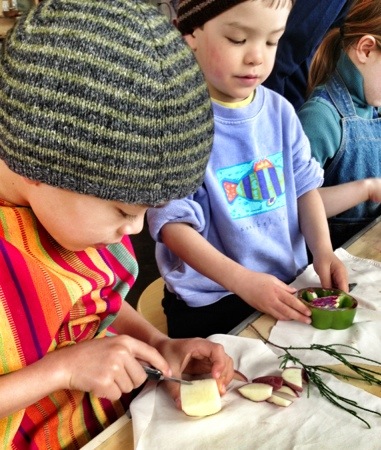
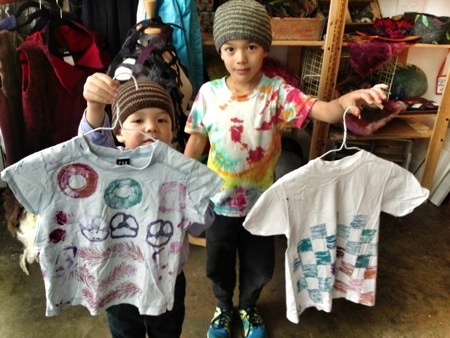
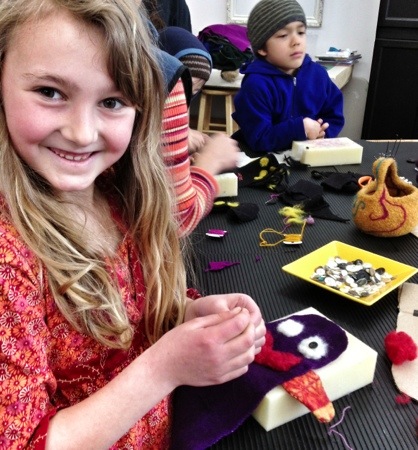
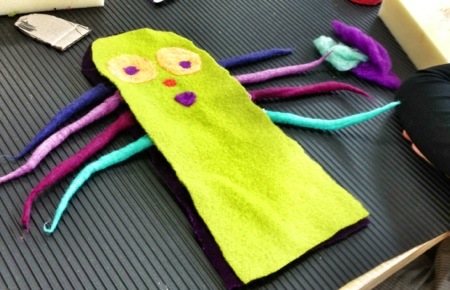
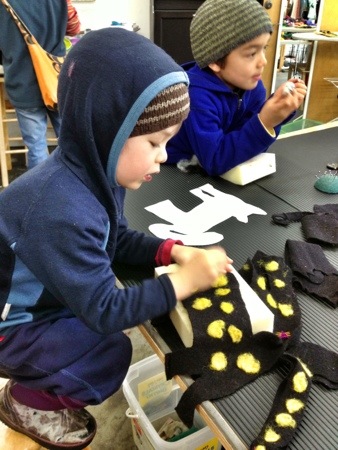
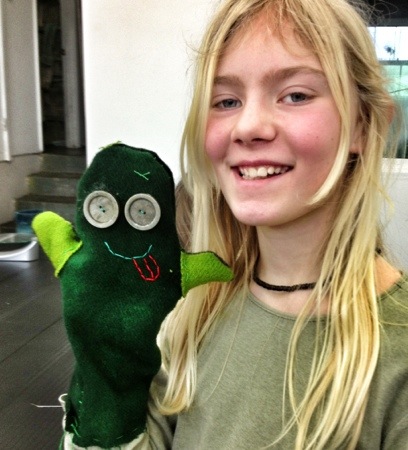
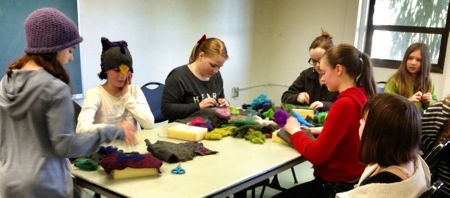
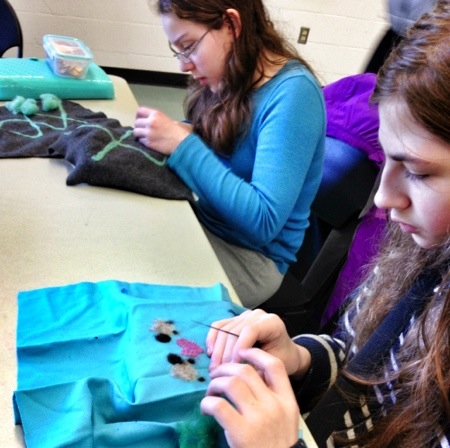
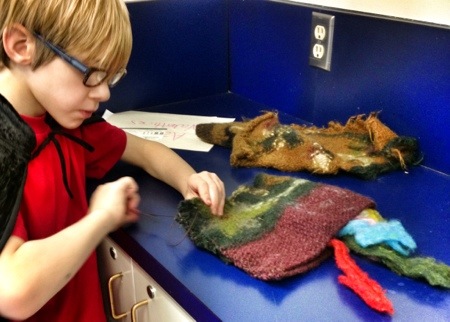
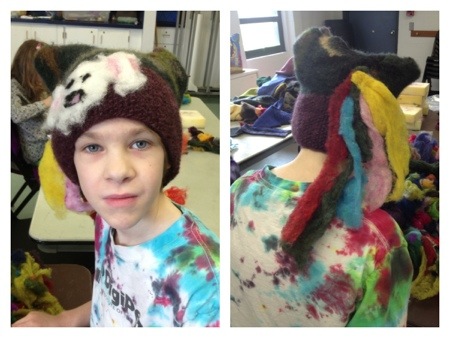
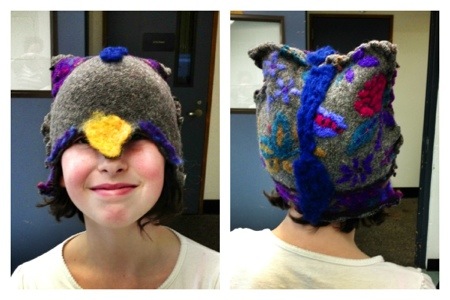
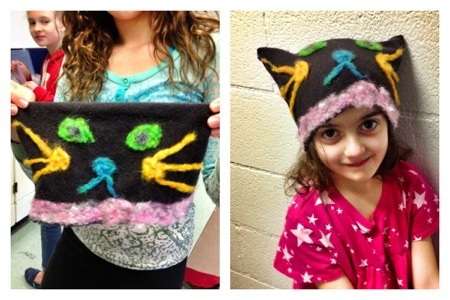
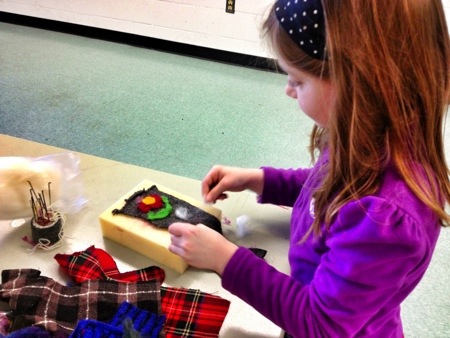
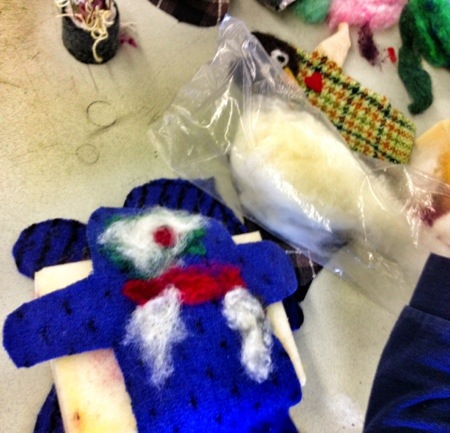
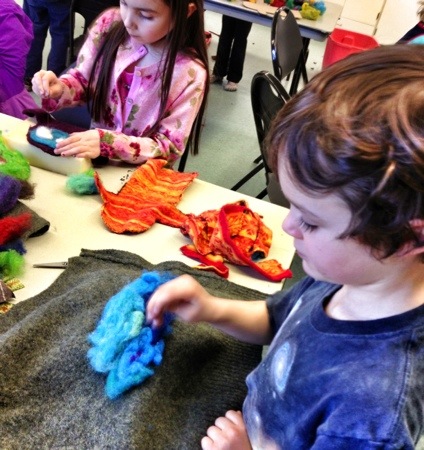
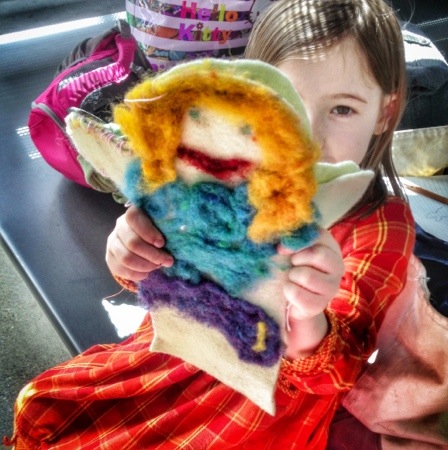
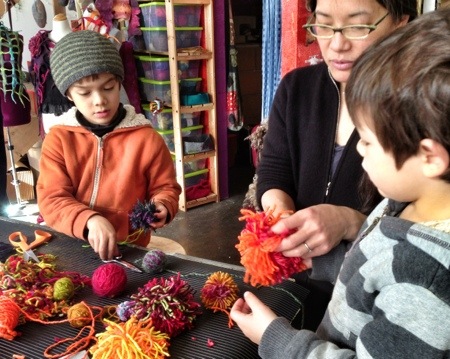
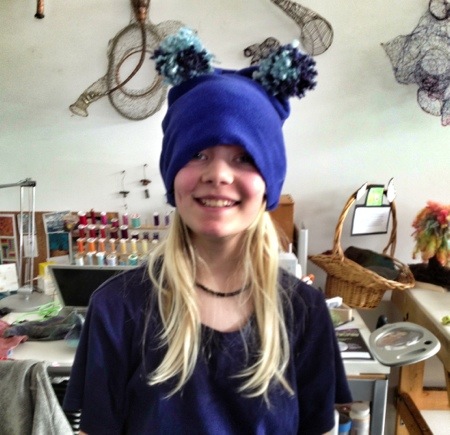
The highlight of my time was spent teaching a fiber arts class to several families in Seattle’s homeschool community. Supported by a student intern and a friend with eight arms and a bottomless well of enthusiasm we stitched, felted, wove and explored the varied forms of fiber. It was an exciting year. However, being the midwife to my students’ learning forced me to shelve my own creativity, and when the year was over I found I was tired, and didn’t have the energy to fully commit to running a business.

If I was to pinpoint the biggest reason behind my decision to move on it would be the strain caused by the relentless self-promotion required to make this business thrive. In the end, the endless marketing required was not an authentic or sustainable part of my personality. And despite tweeking the business innumerable ways, following all of the best advice from  indie marketing gurus, the business was not profitable. I put in too many hours to continue working for free. If I’m going to work without a wage, I would rather be a literacy tutor or a child advocate, where I can make an impact on someone’s quality of life rather than flog my latest creation.

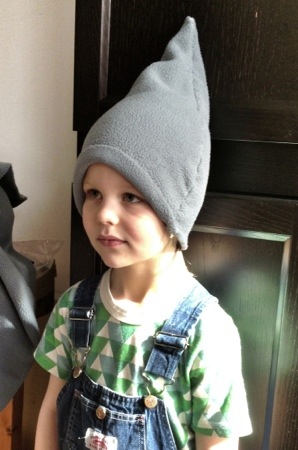
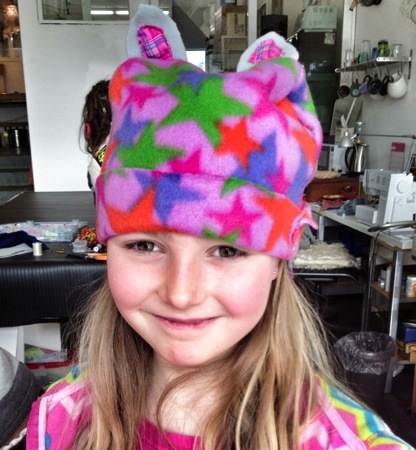
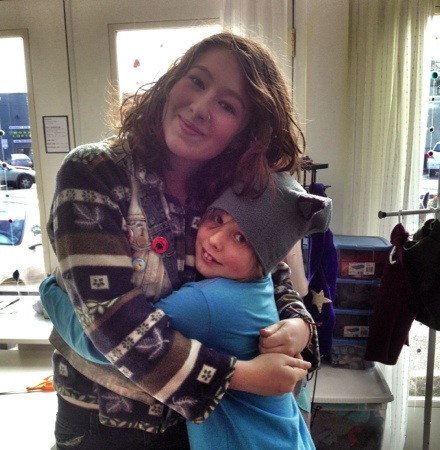
This transition is not without discomfort. First of all, I have no easy answer when people ask ‘what do you do?’ Right now, the answer is ‘I make lists’. There are boxes, bins and drawers full of materials I need to move along to new owners. Anybody want 1000 kraft boxes? What about a mismatched set of pine stools? Following are photographs of some items that need to find new homes before I can close up.

IMG_8905.JPG

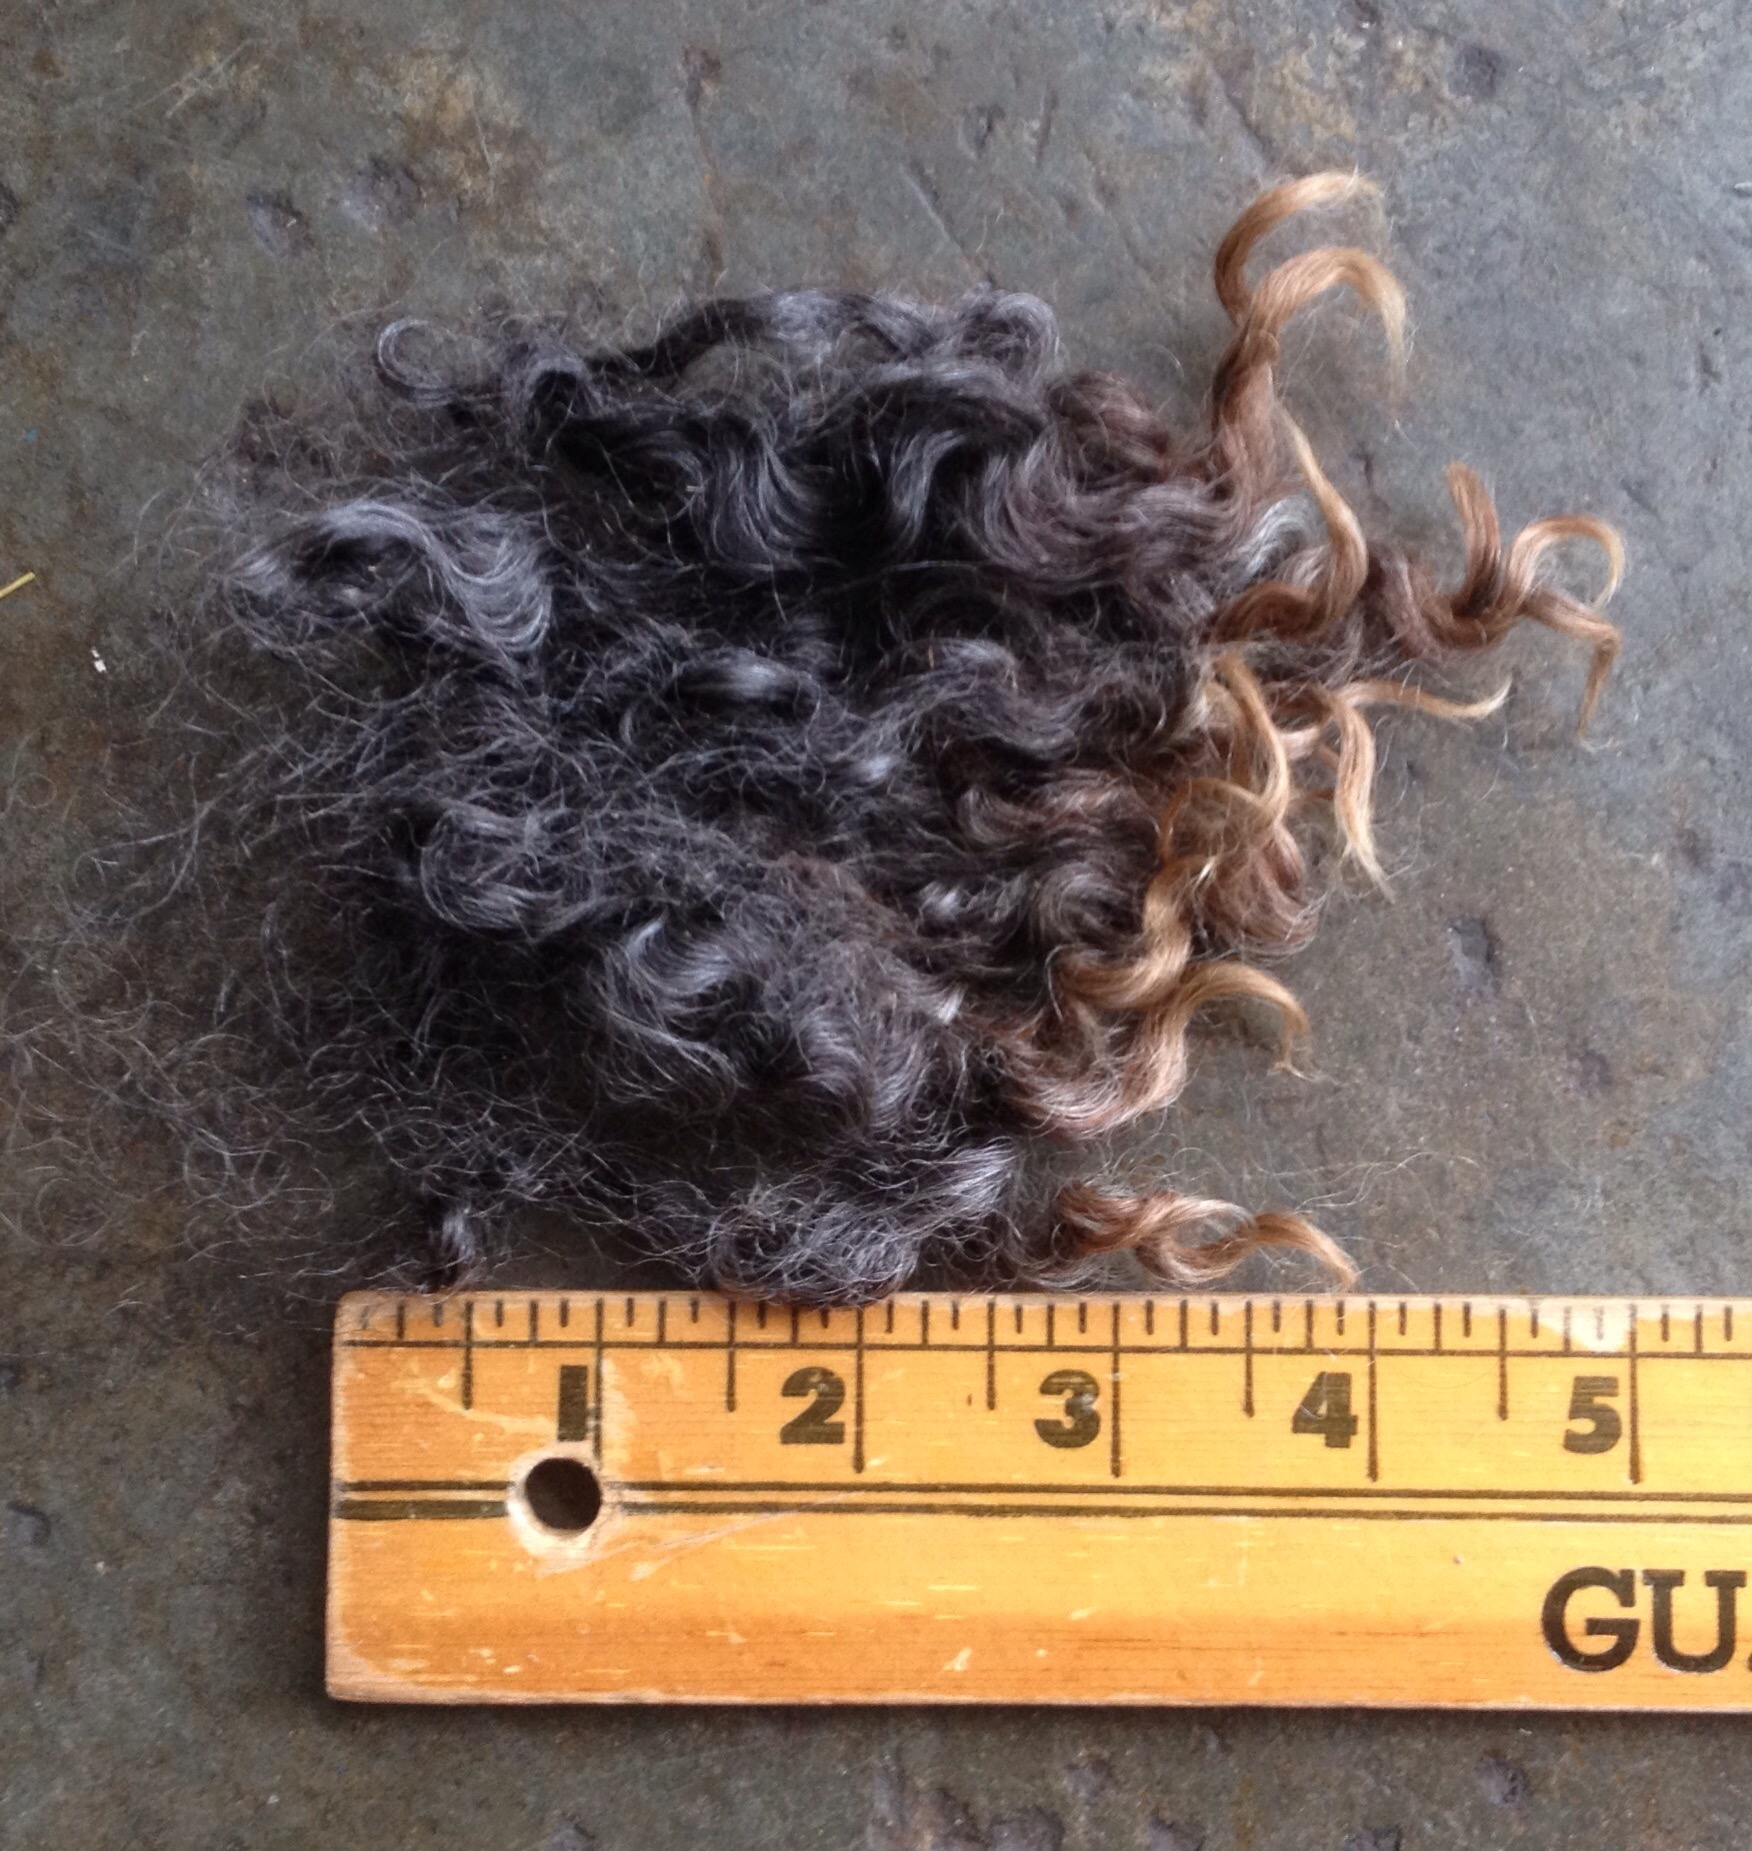
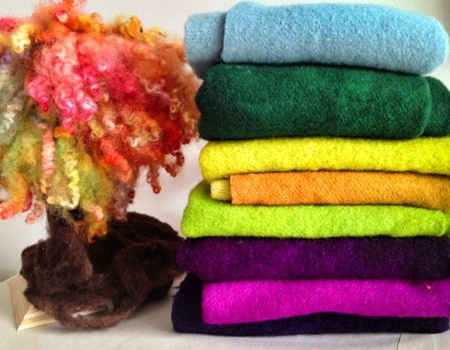
I have a large stash of wool fleeces bought from farms on Whidbey and Lopez Island. Some are washed, but most are still ‘in the grease’. There are lots of dyed locks and dyed silk noil still avaialbe. If you’re on Ravelry, I’ve listed my inventory in my ‘stash’ tab under ‘willing to trade or sell’. The prices I paid for the wool are my sale prices. I’m just trying to recoup my costs. My username is ‘kneek’.

IMG_8840

Feltcraft 40″ Rolling Machine – $1800
This gently used rolling machine takes the back-breaking labor out of the feltmaking process, though it does not eliminate all of the steps. Fiber is laid out on the blue bubblewrap, wet down with a soap solution, rolled up and placed in the machine where it rumbles along for 10-30 minutes at a time. Production feltmakers rely heavily on rolling machines. It works very well for nunofelt, enabling the fibers to fully embed in the fabric before the fulling process.

IMG_6972.JPG

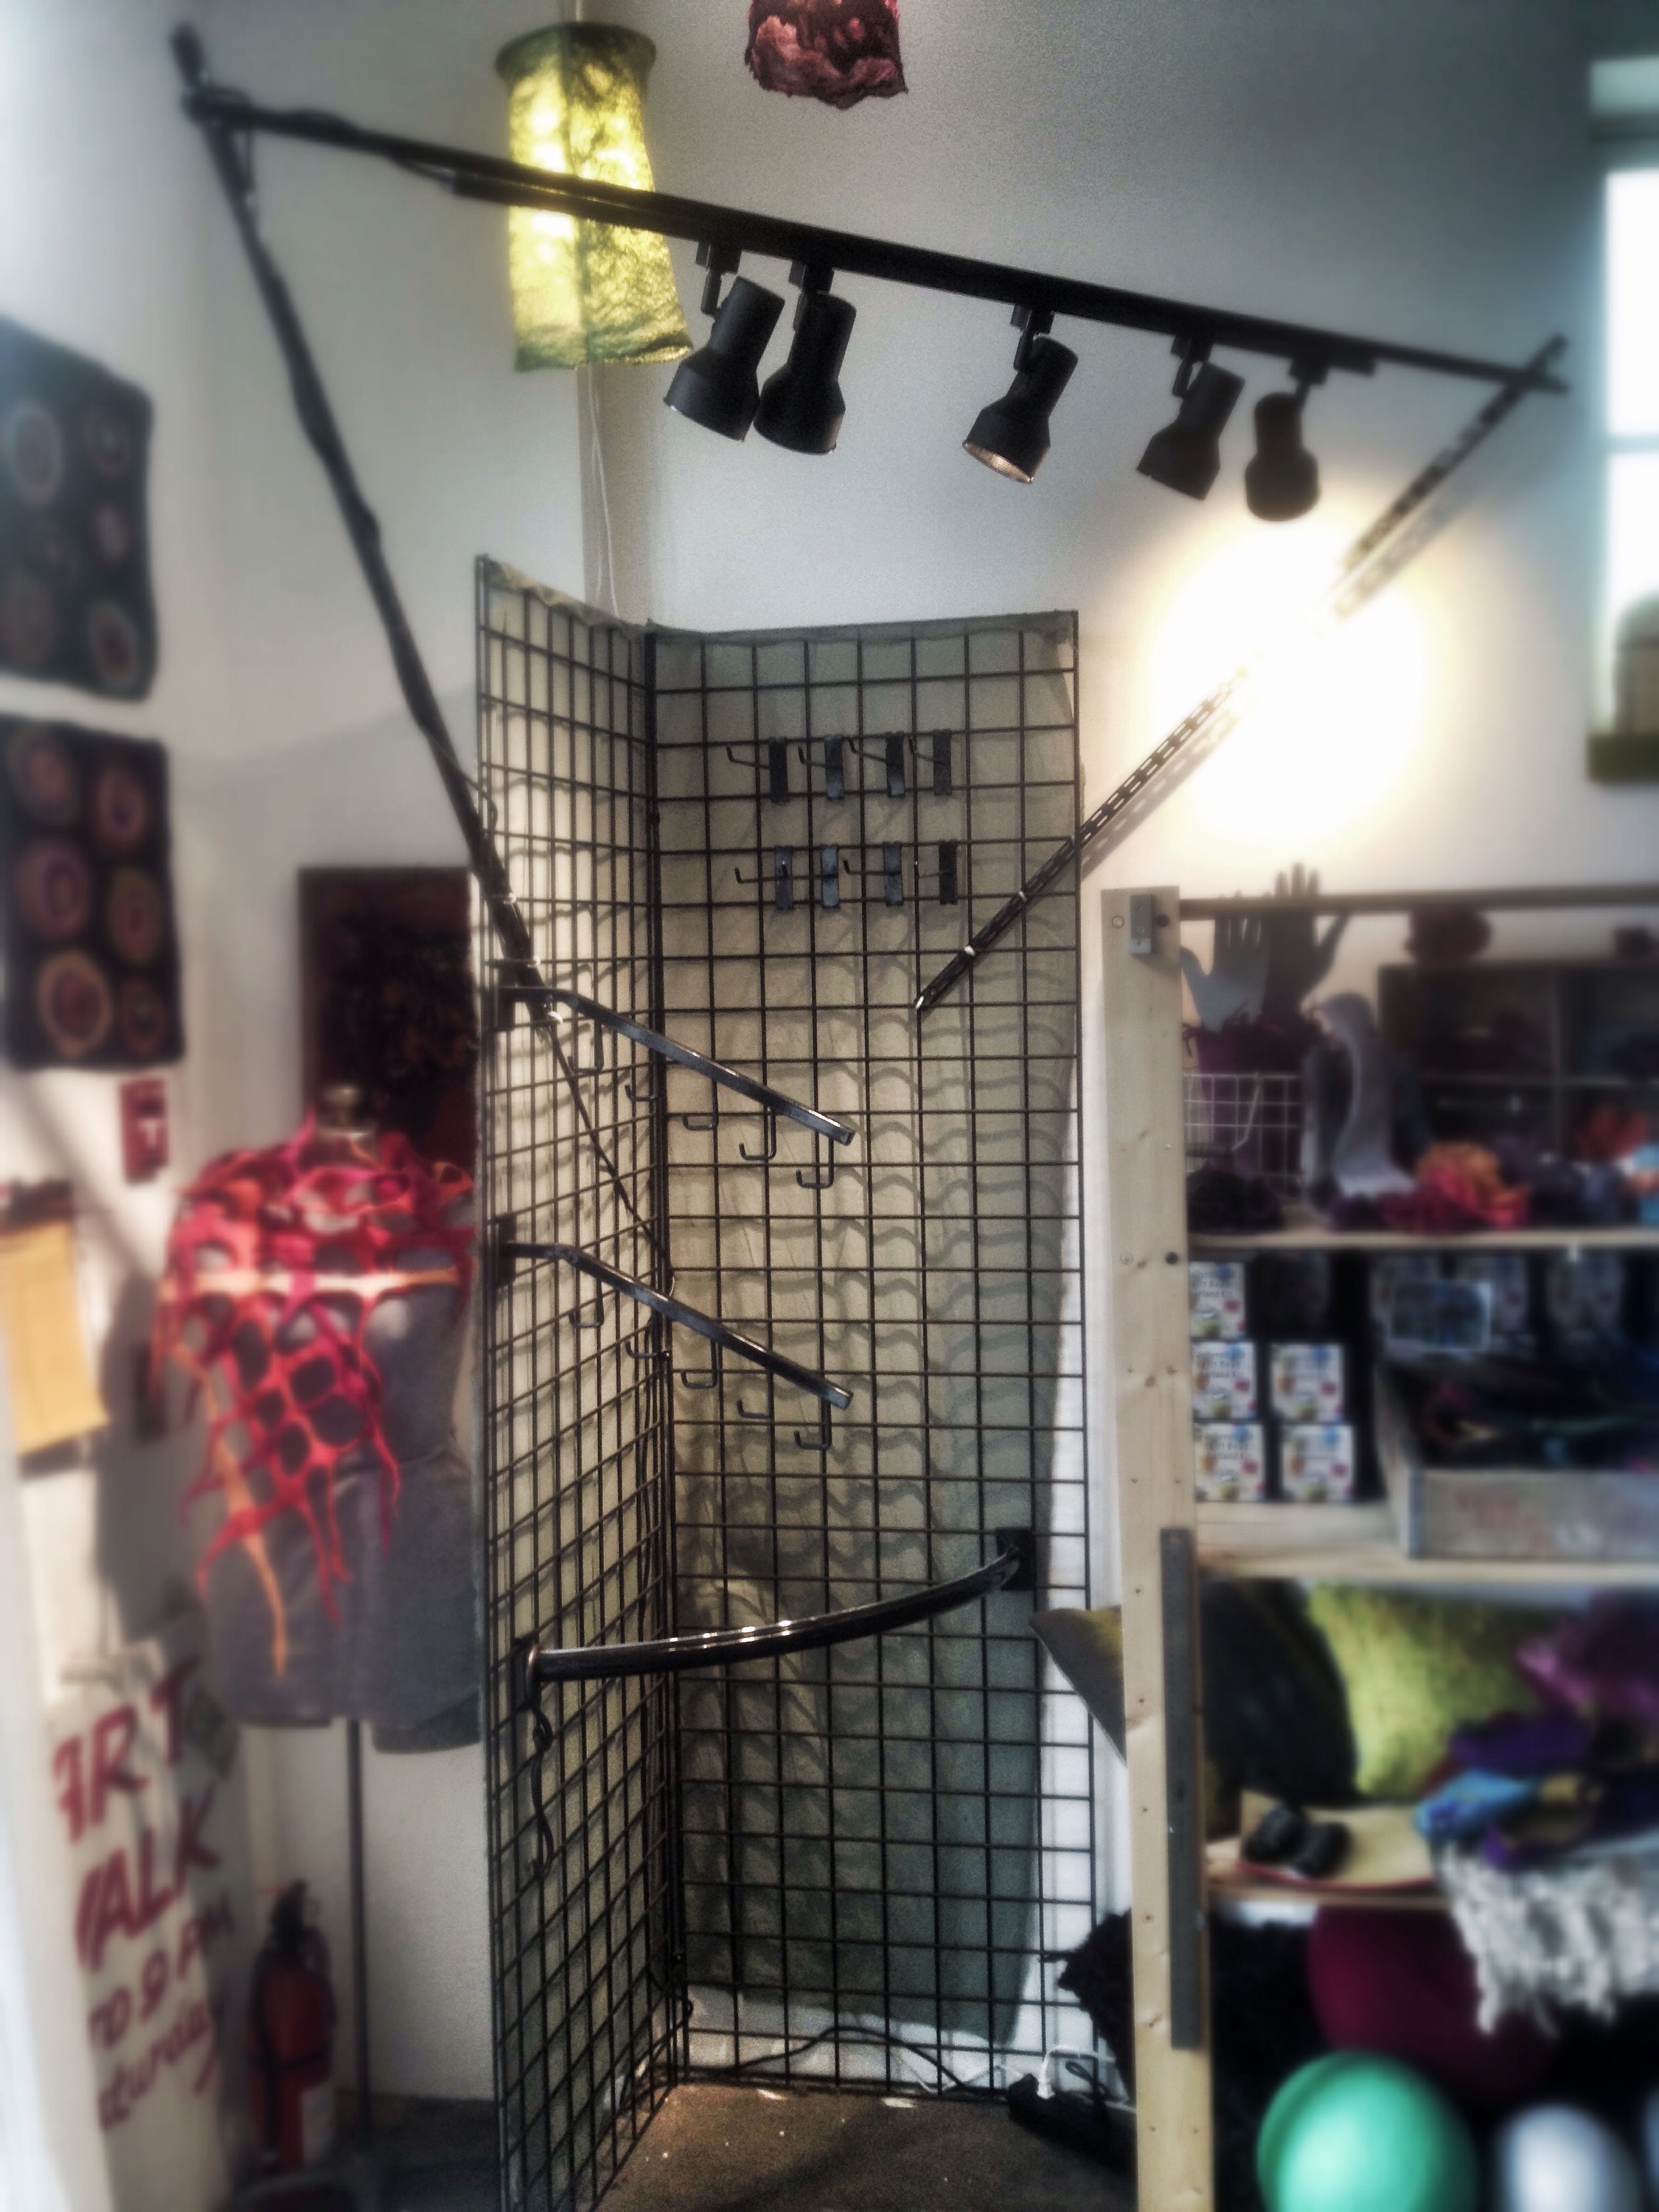
Gridwall display with 5 halogen lights and hanging components, currently listed on Craigslist.

(null)

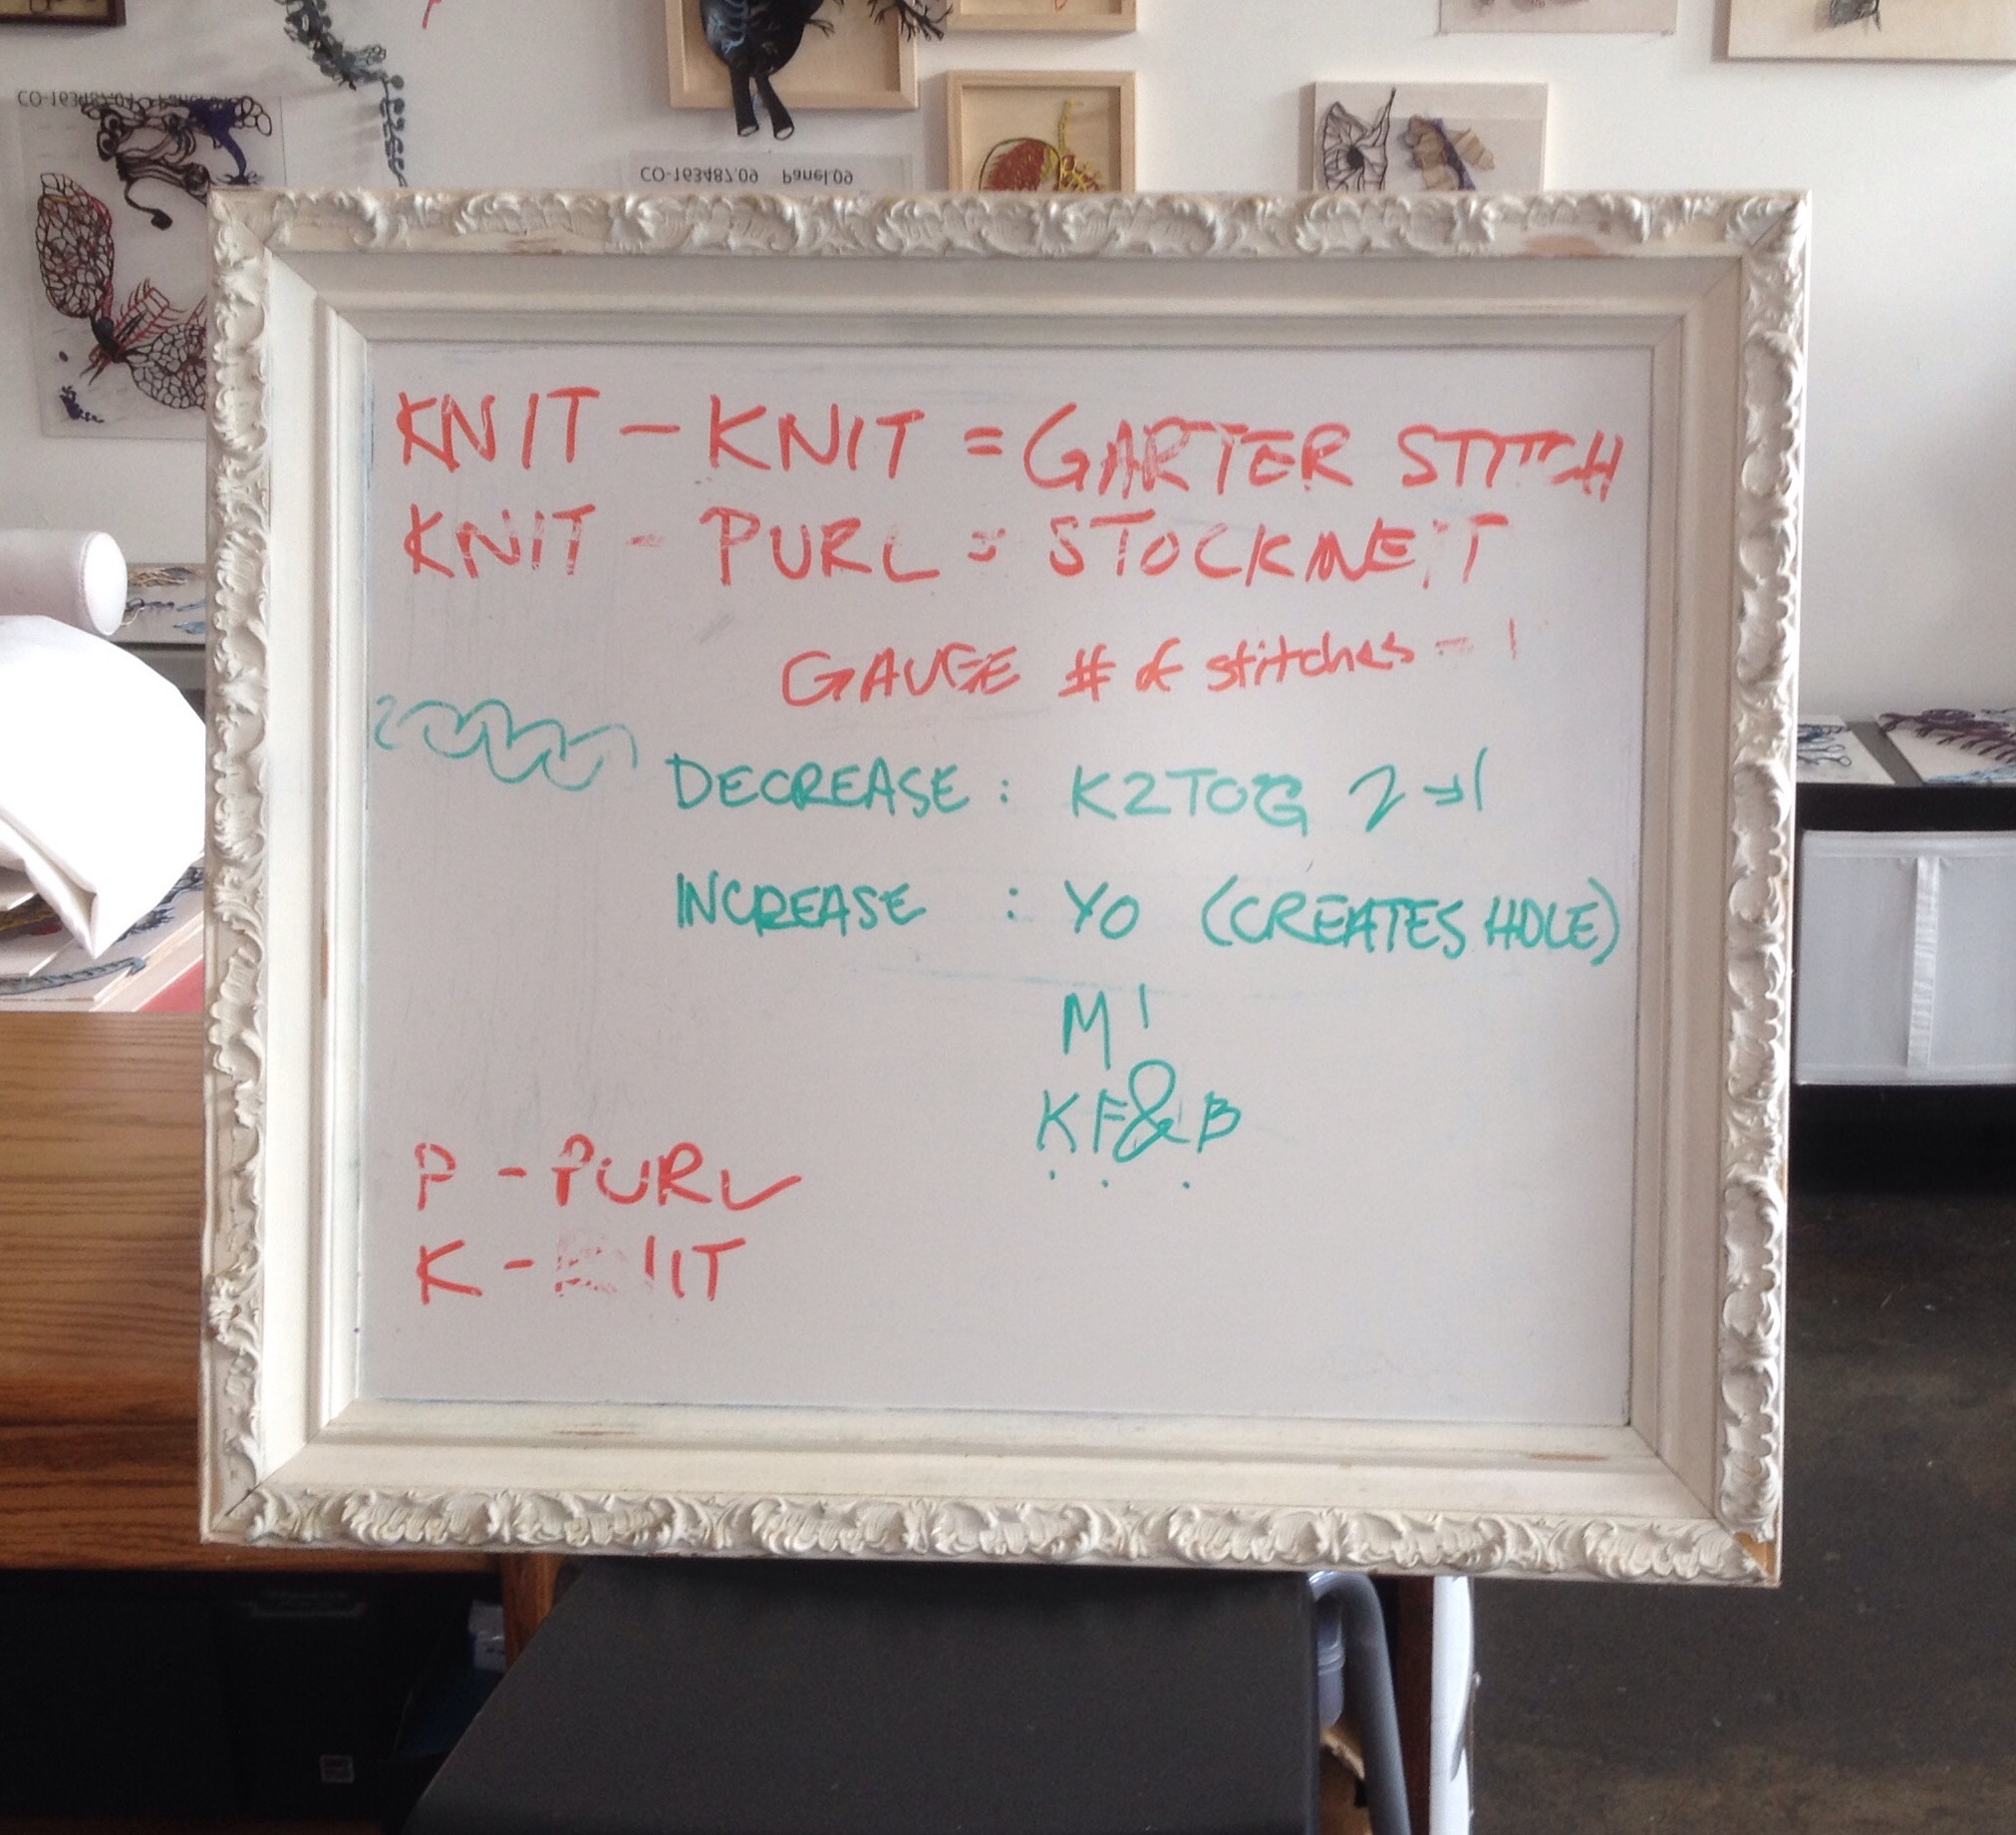
Recycled whiteboard in a painted upcycled frame $75

(null)

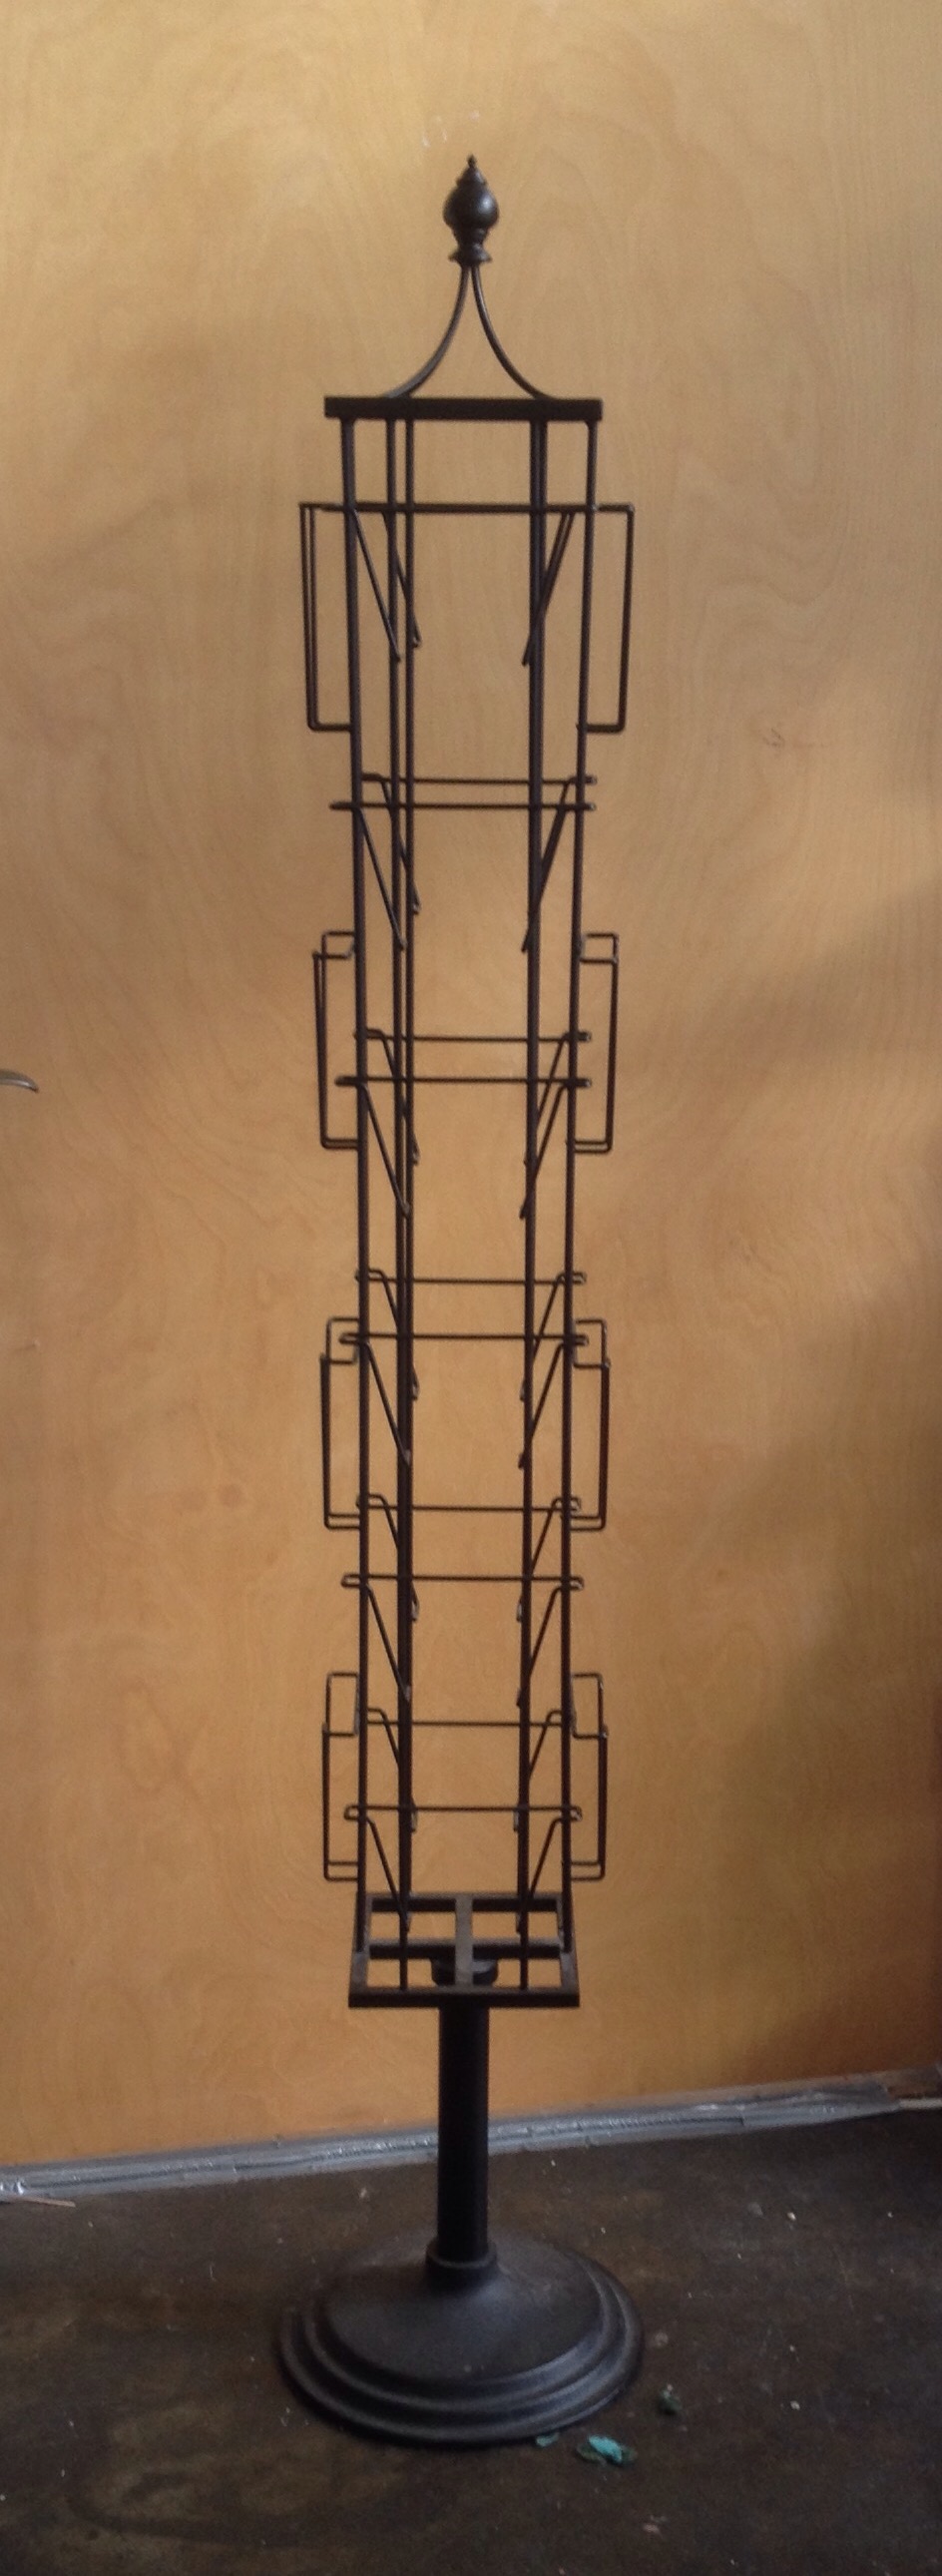
Rotating powder coated aluminum card stand with heavy base $80

(null)

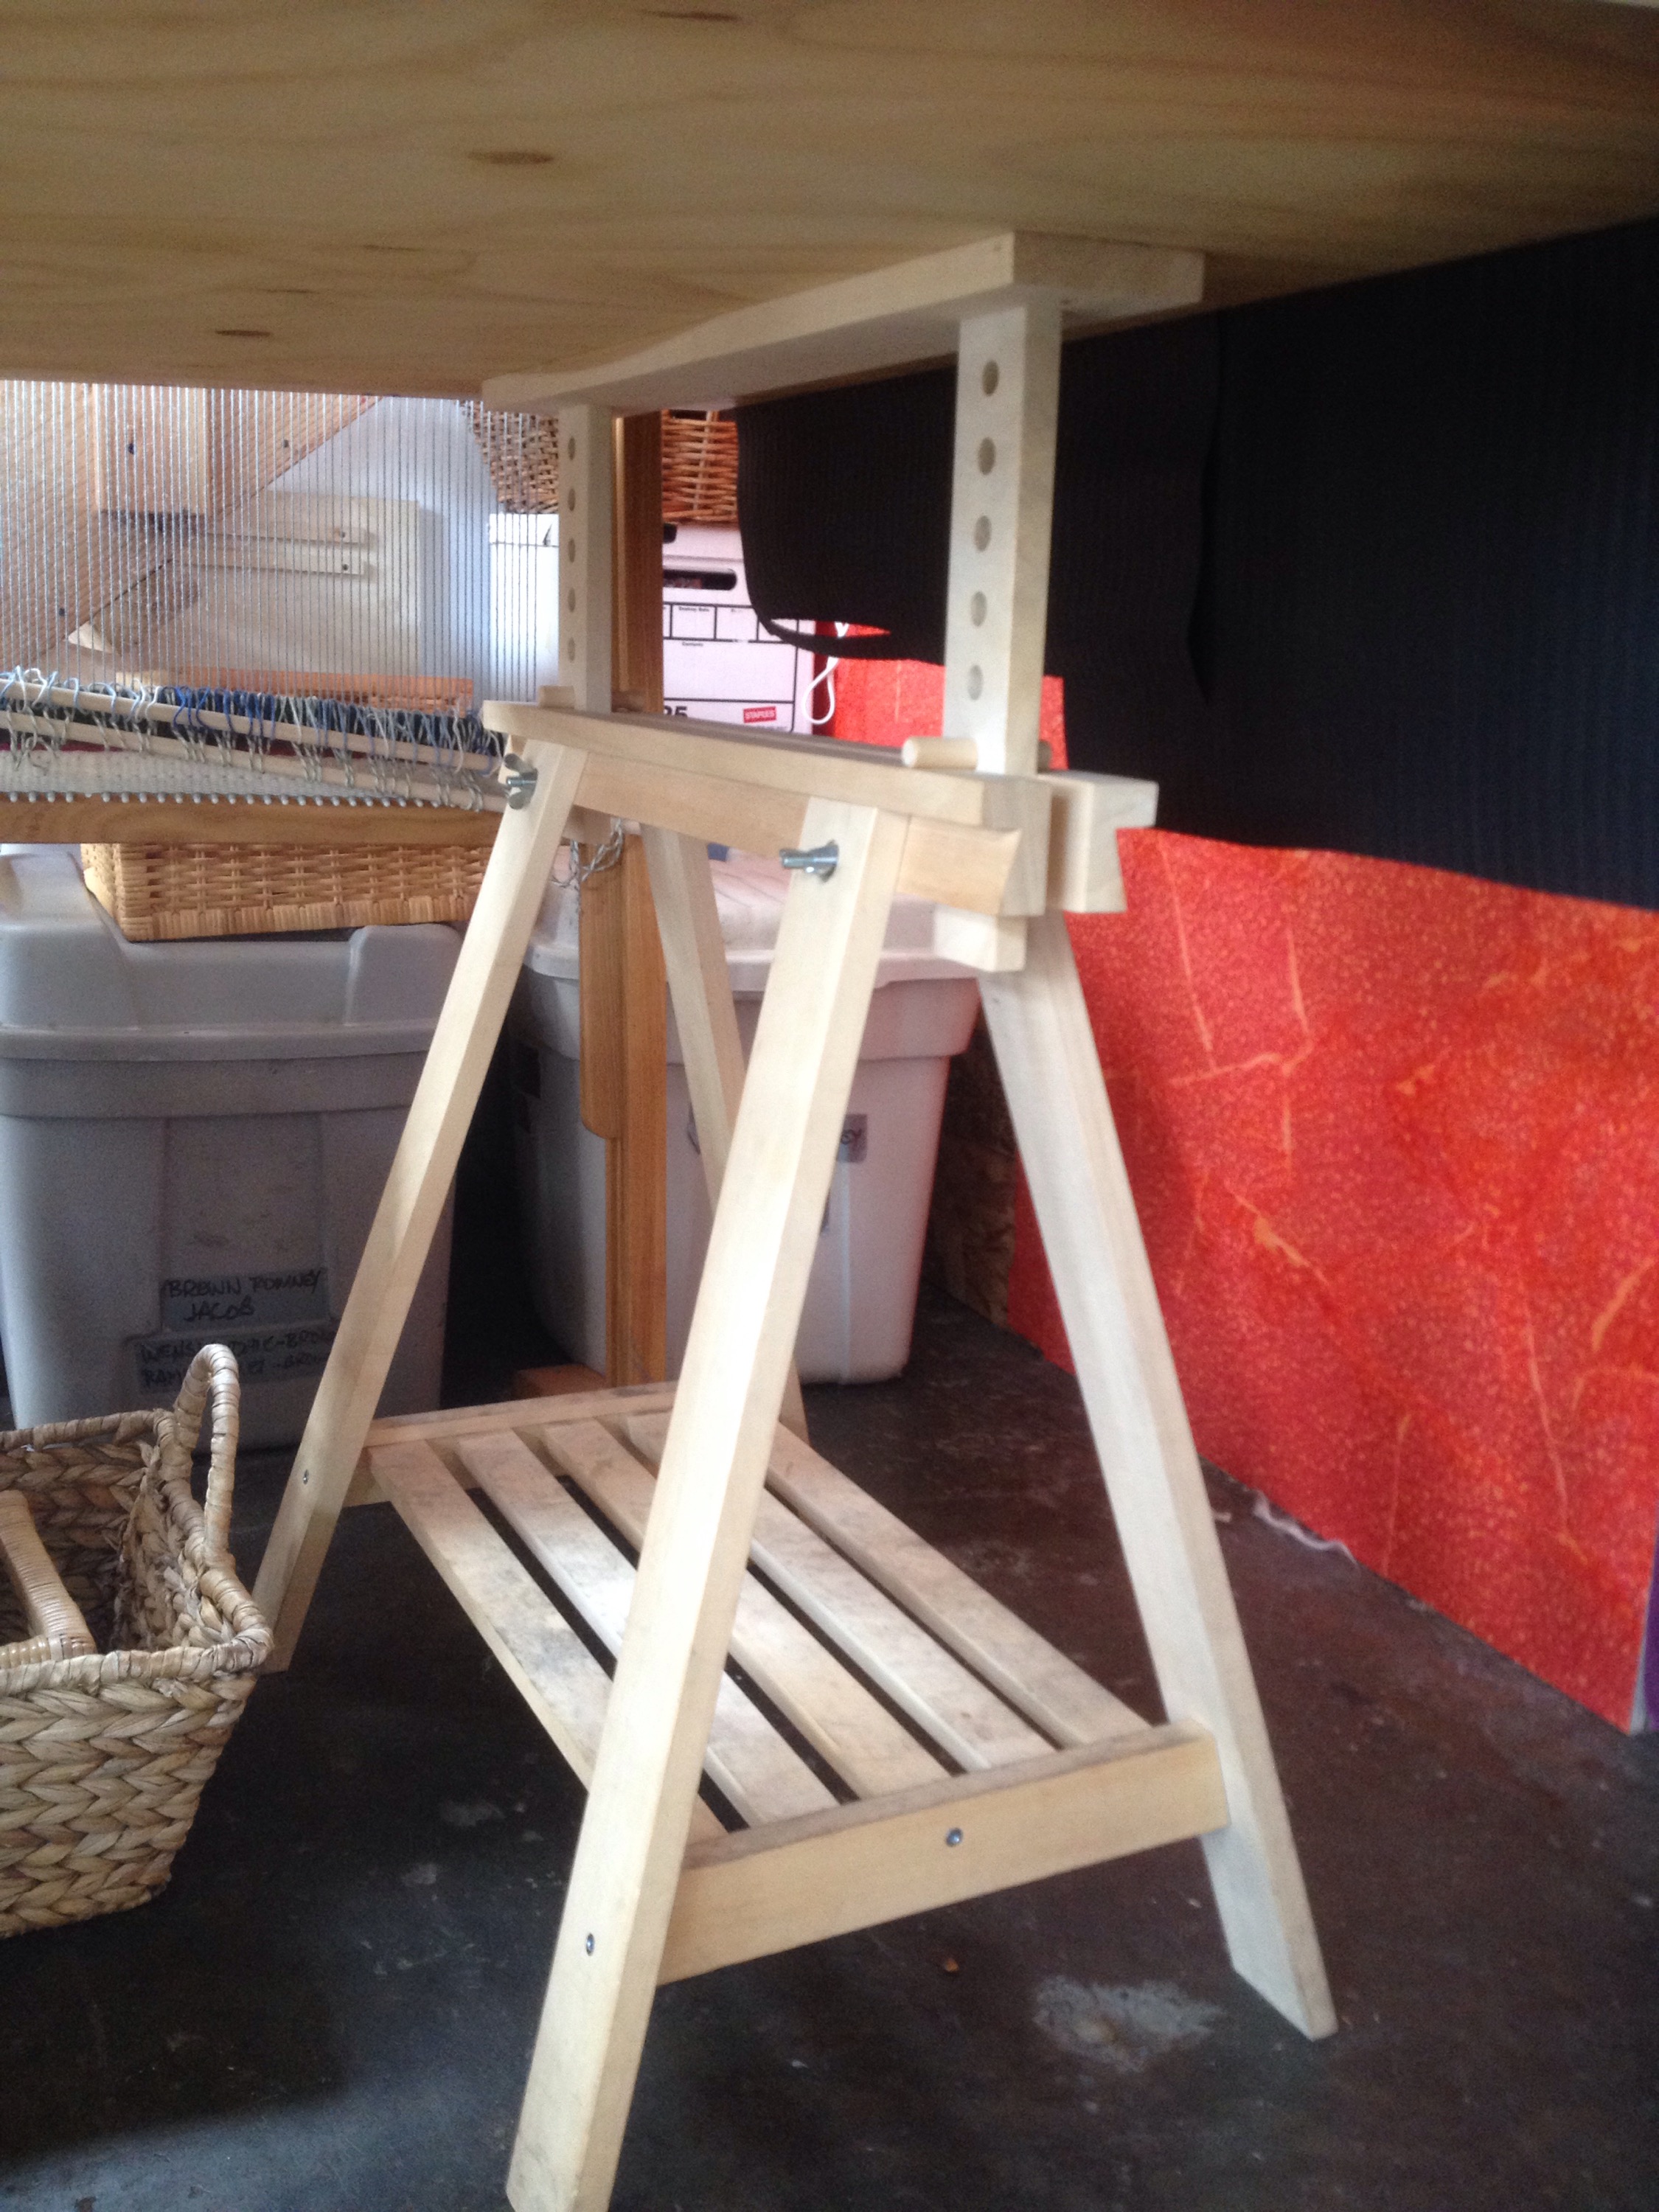
3 IKEA sawhorses, adjustable height, pine, unfinished – $25 each

(null)

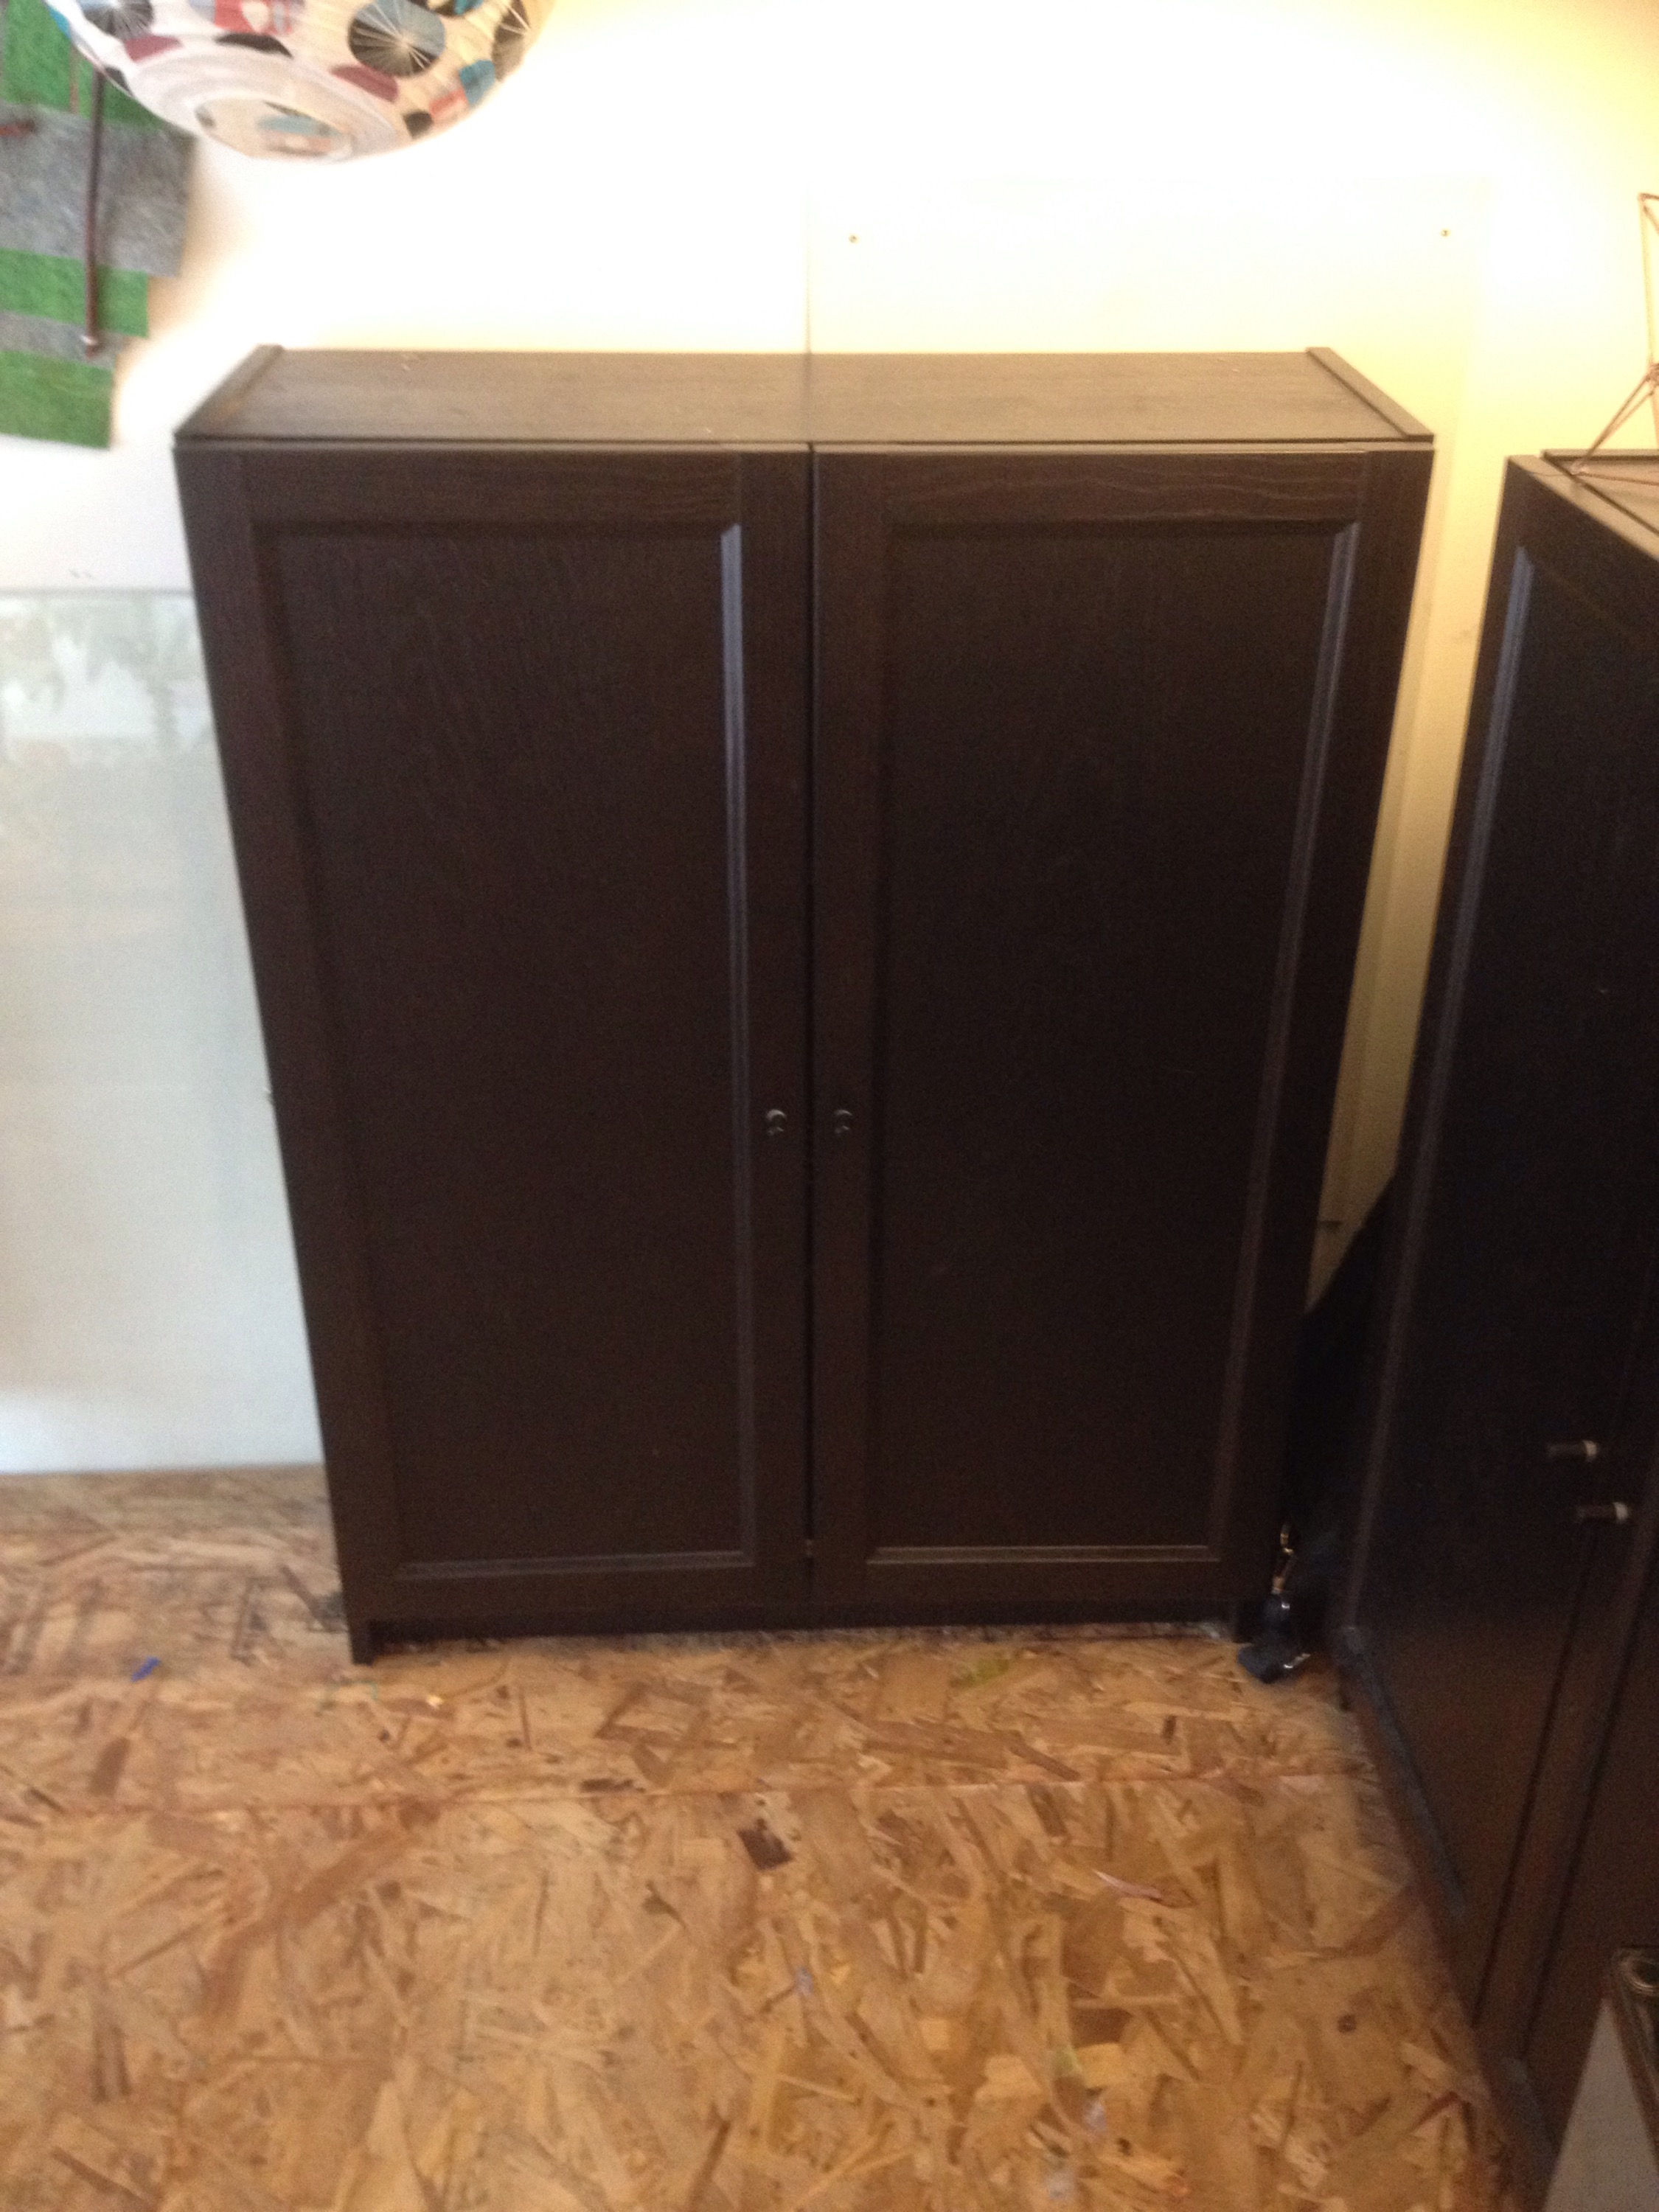
2 IKEA cabinets, particleboard, three shelves, stackable – $40 each

(null)

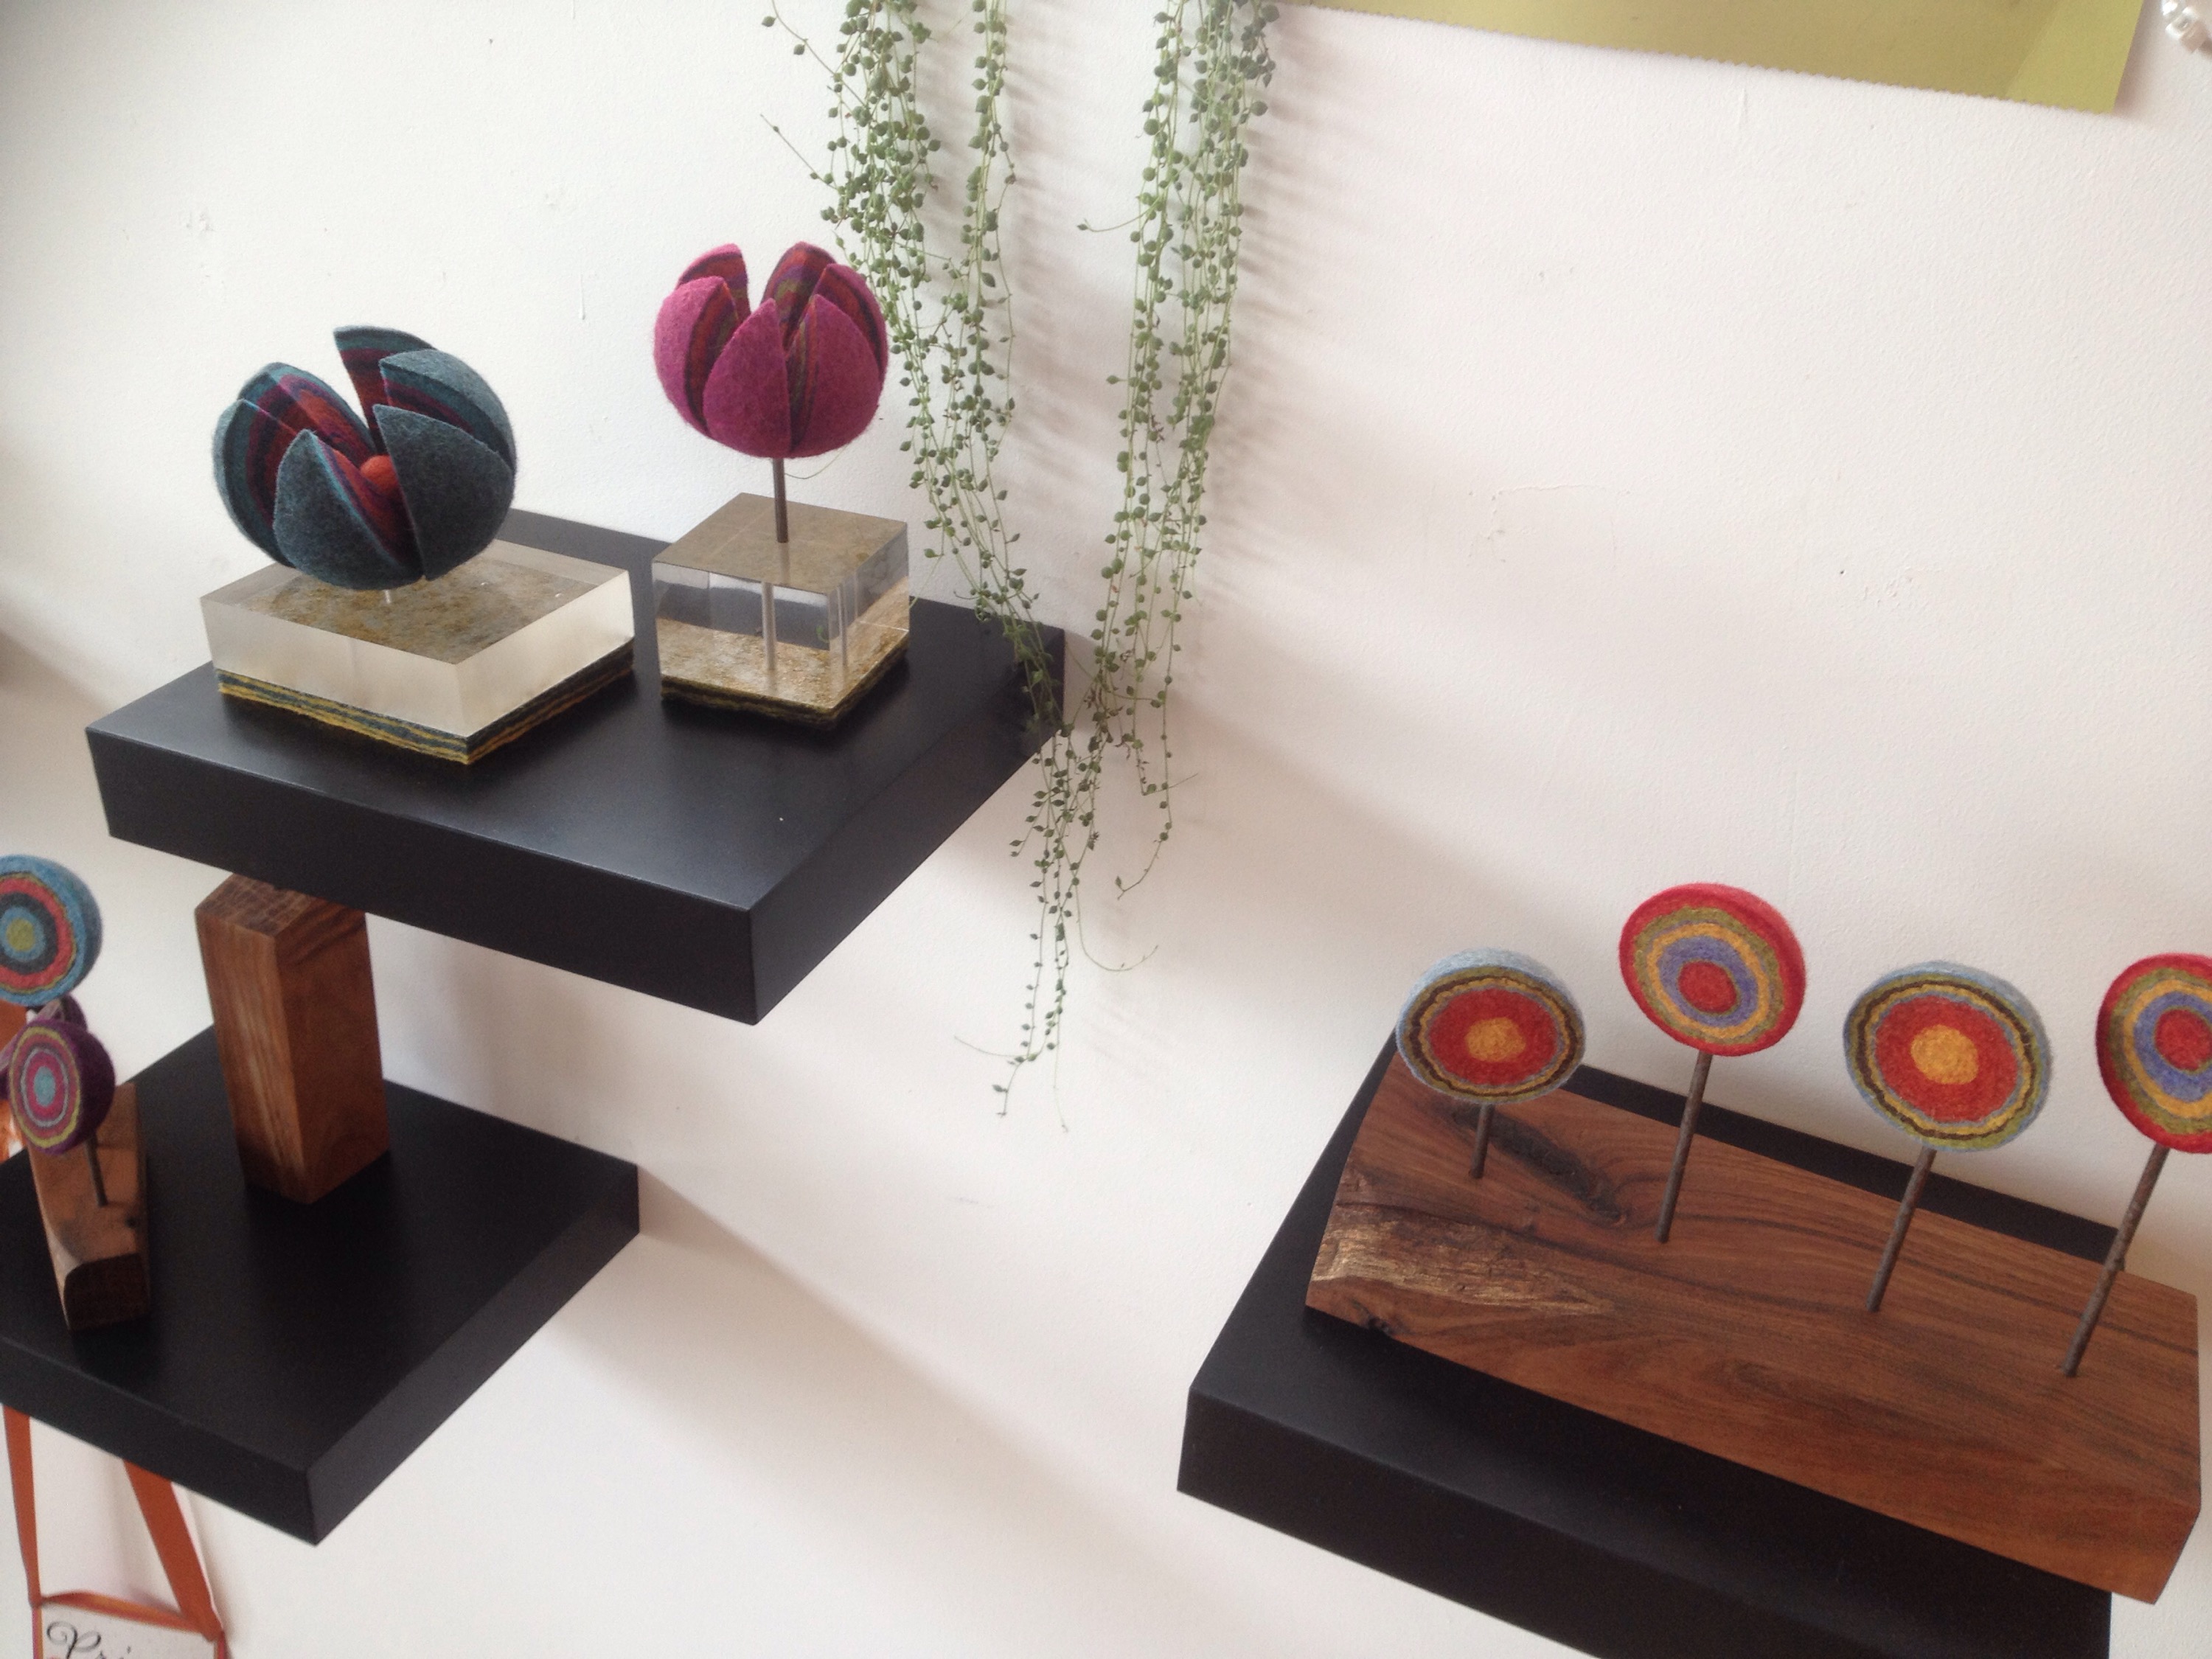
4 IKEA LACK floating shelves – $5 each

(null)

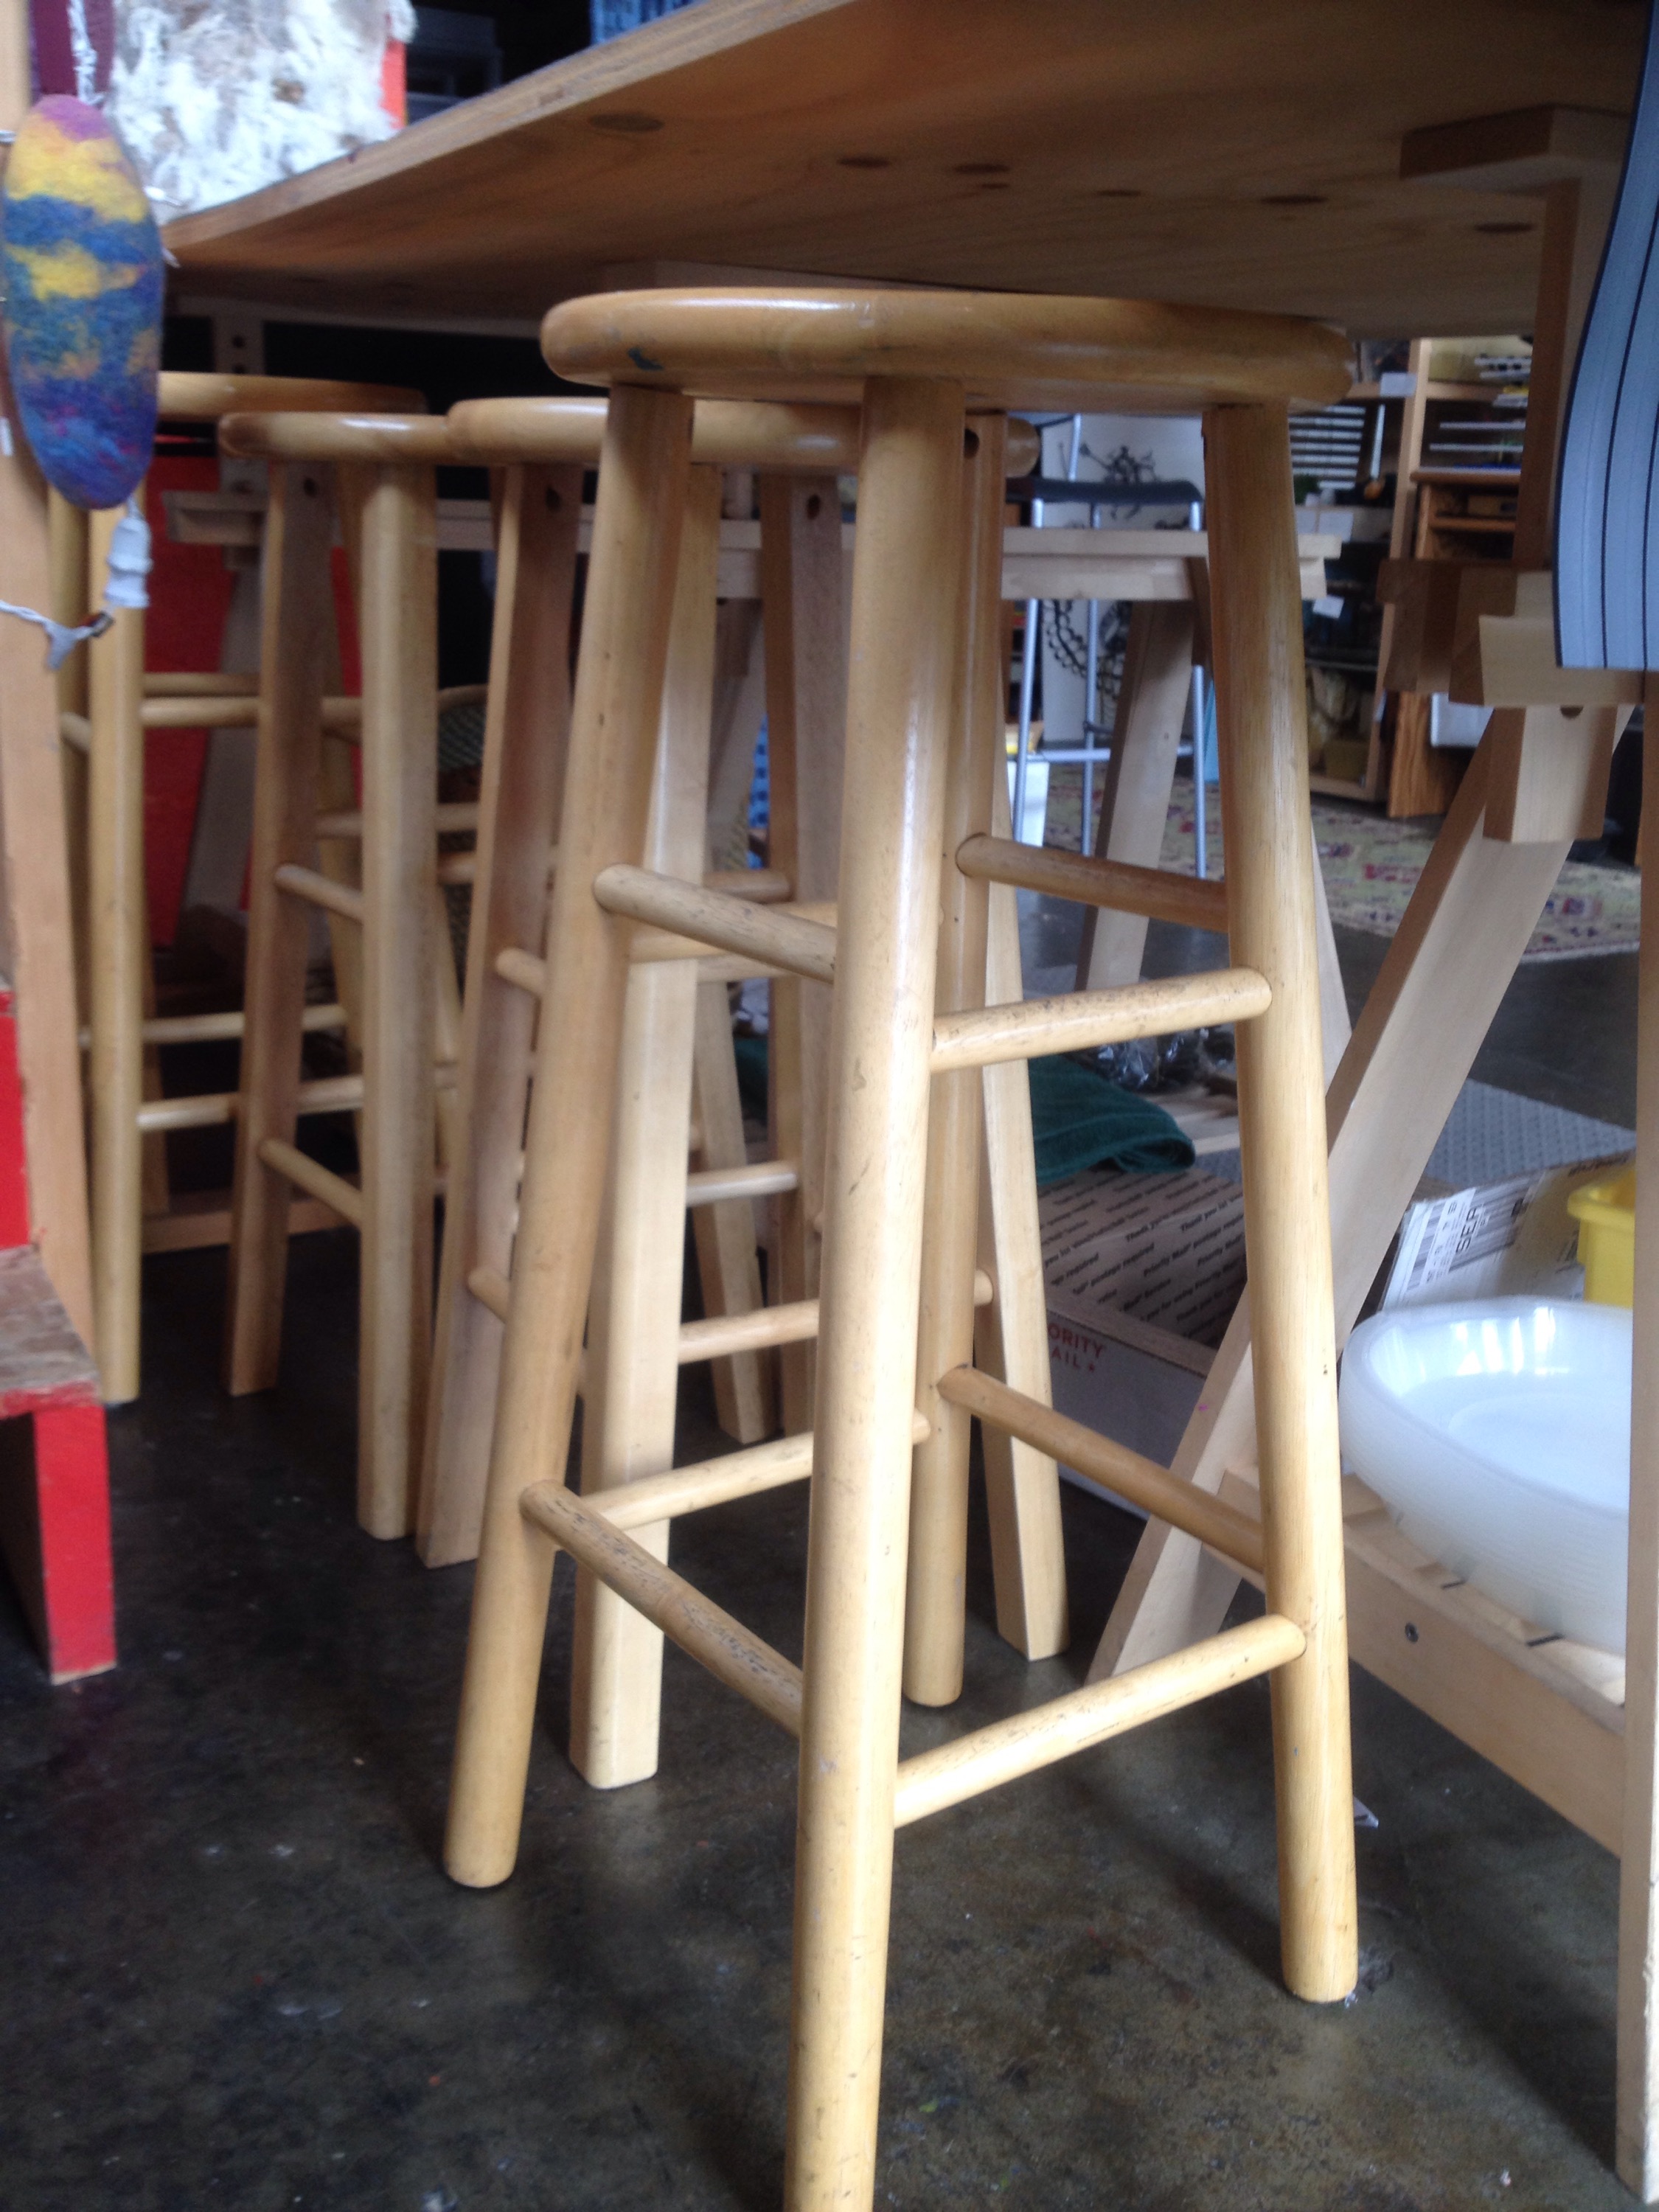
6 pine stools, varying heights, various manufacturers – $15 each

Additional items not pictured: lots of wicker baskets, a set of 3 japanese paper lanterns printed with designs, and an amplifier with two speakers. If possible, I would like to avoid having a large garage sale. Prices are negotiable if you’re willing to take several items off my hands.

amy_hamblin

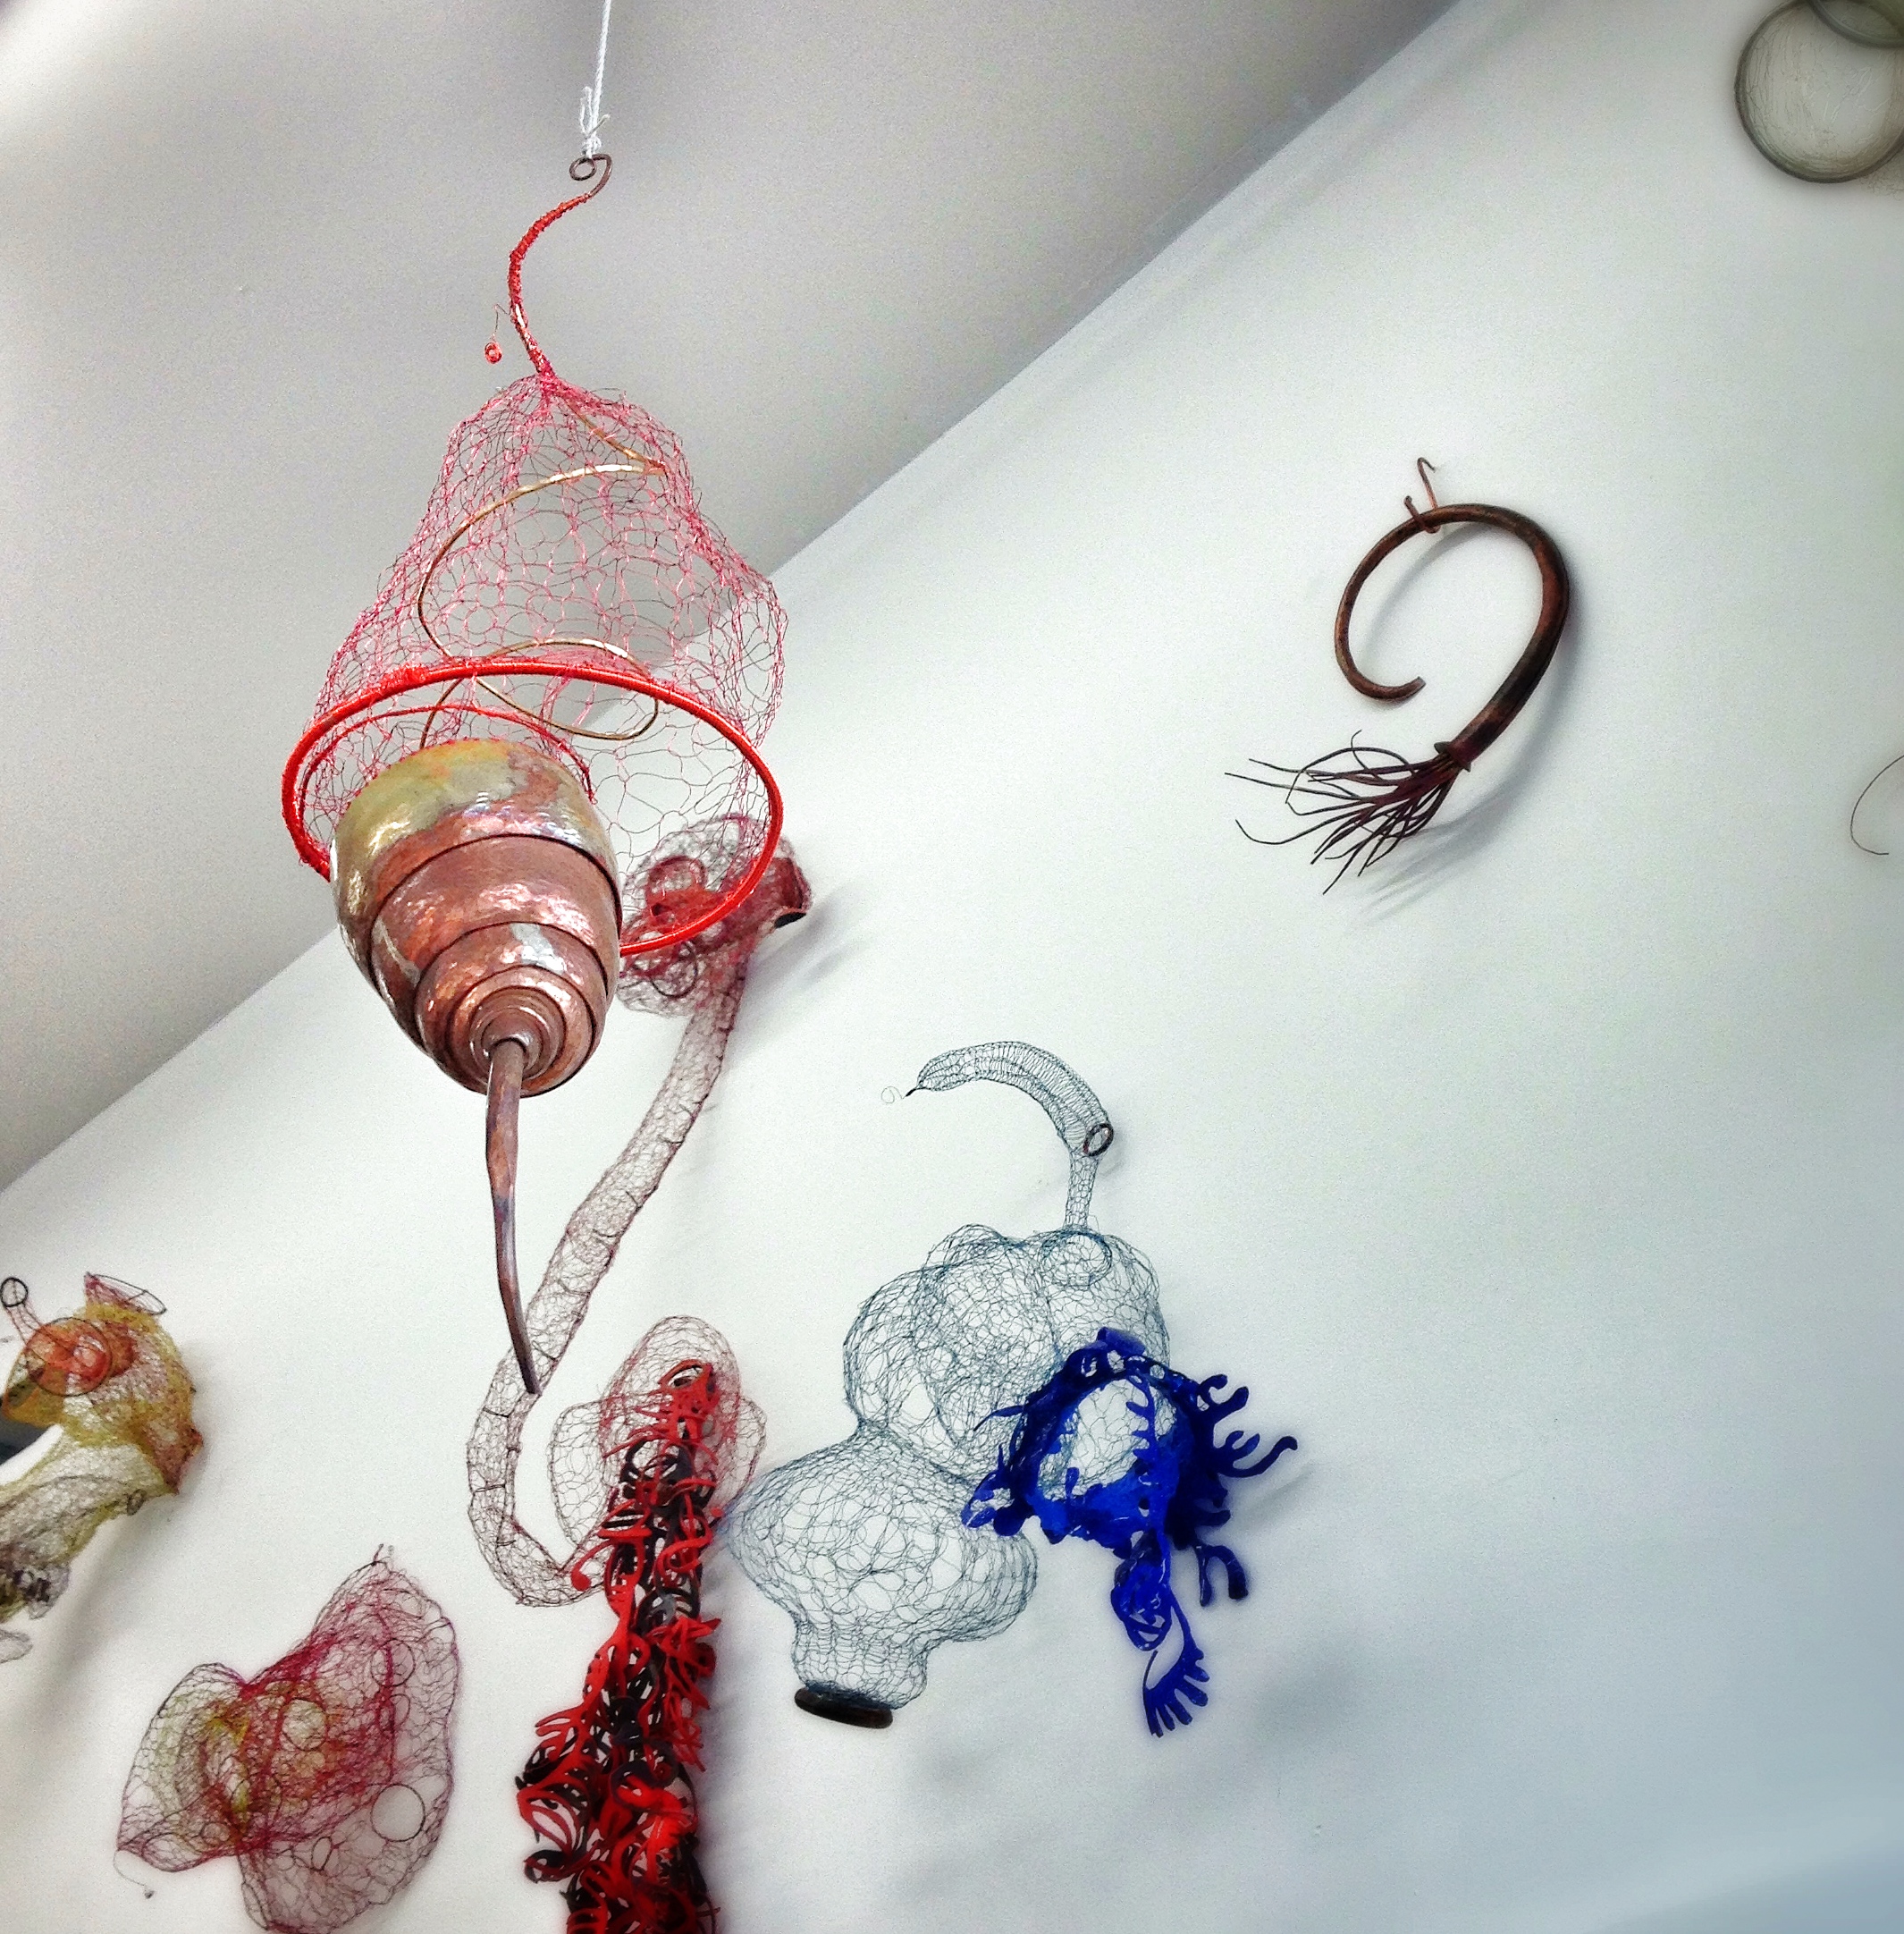
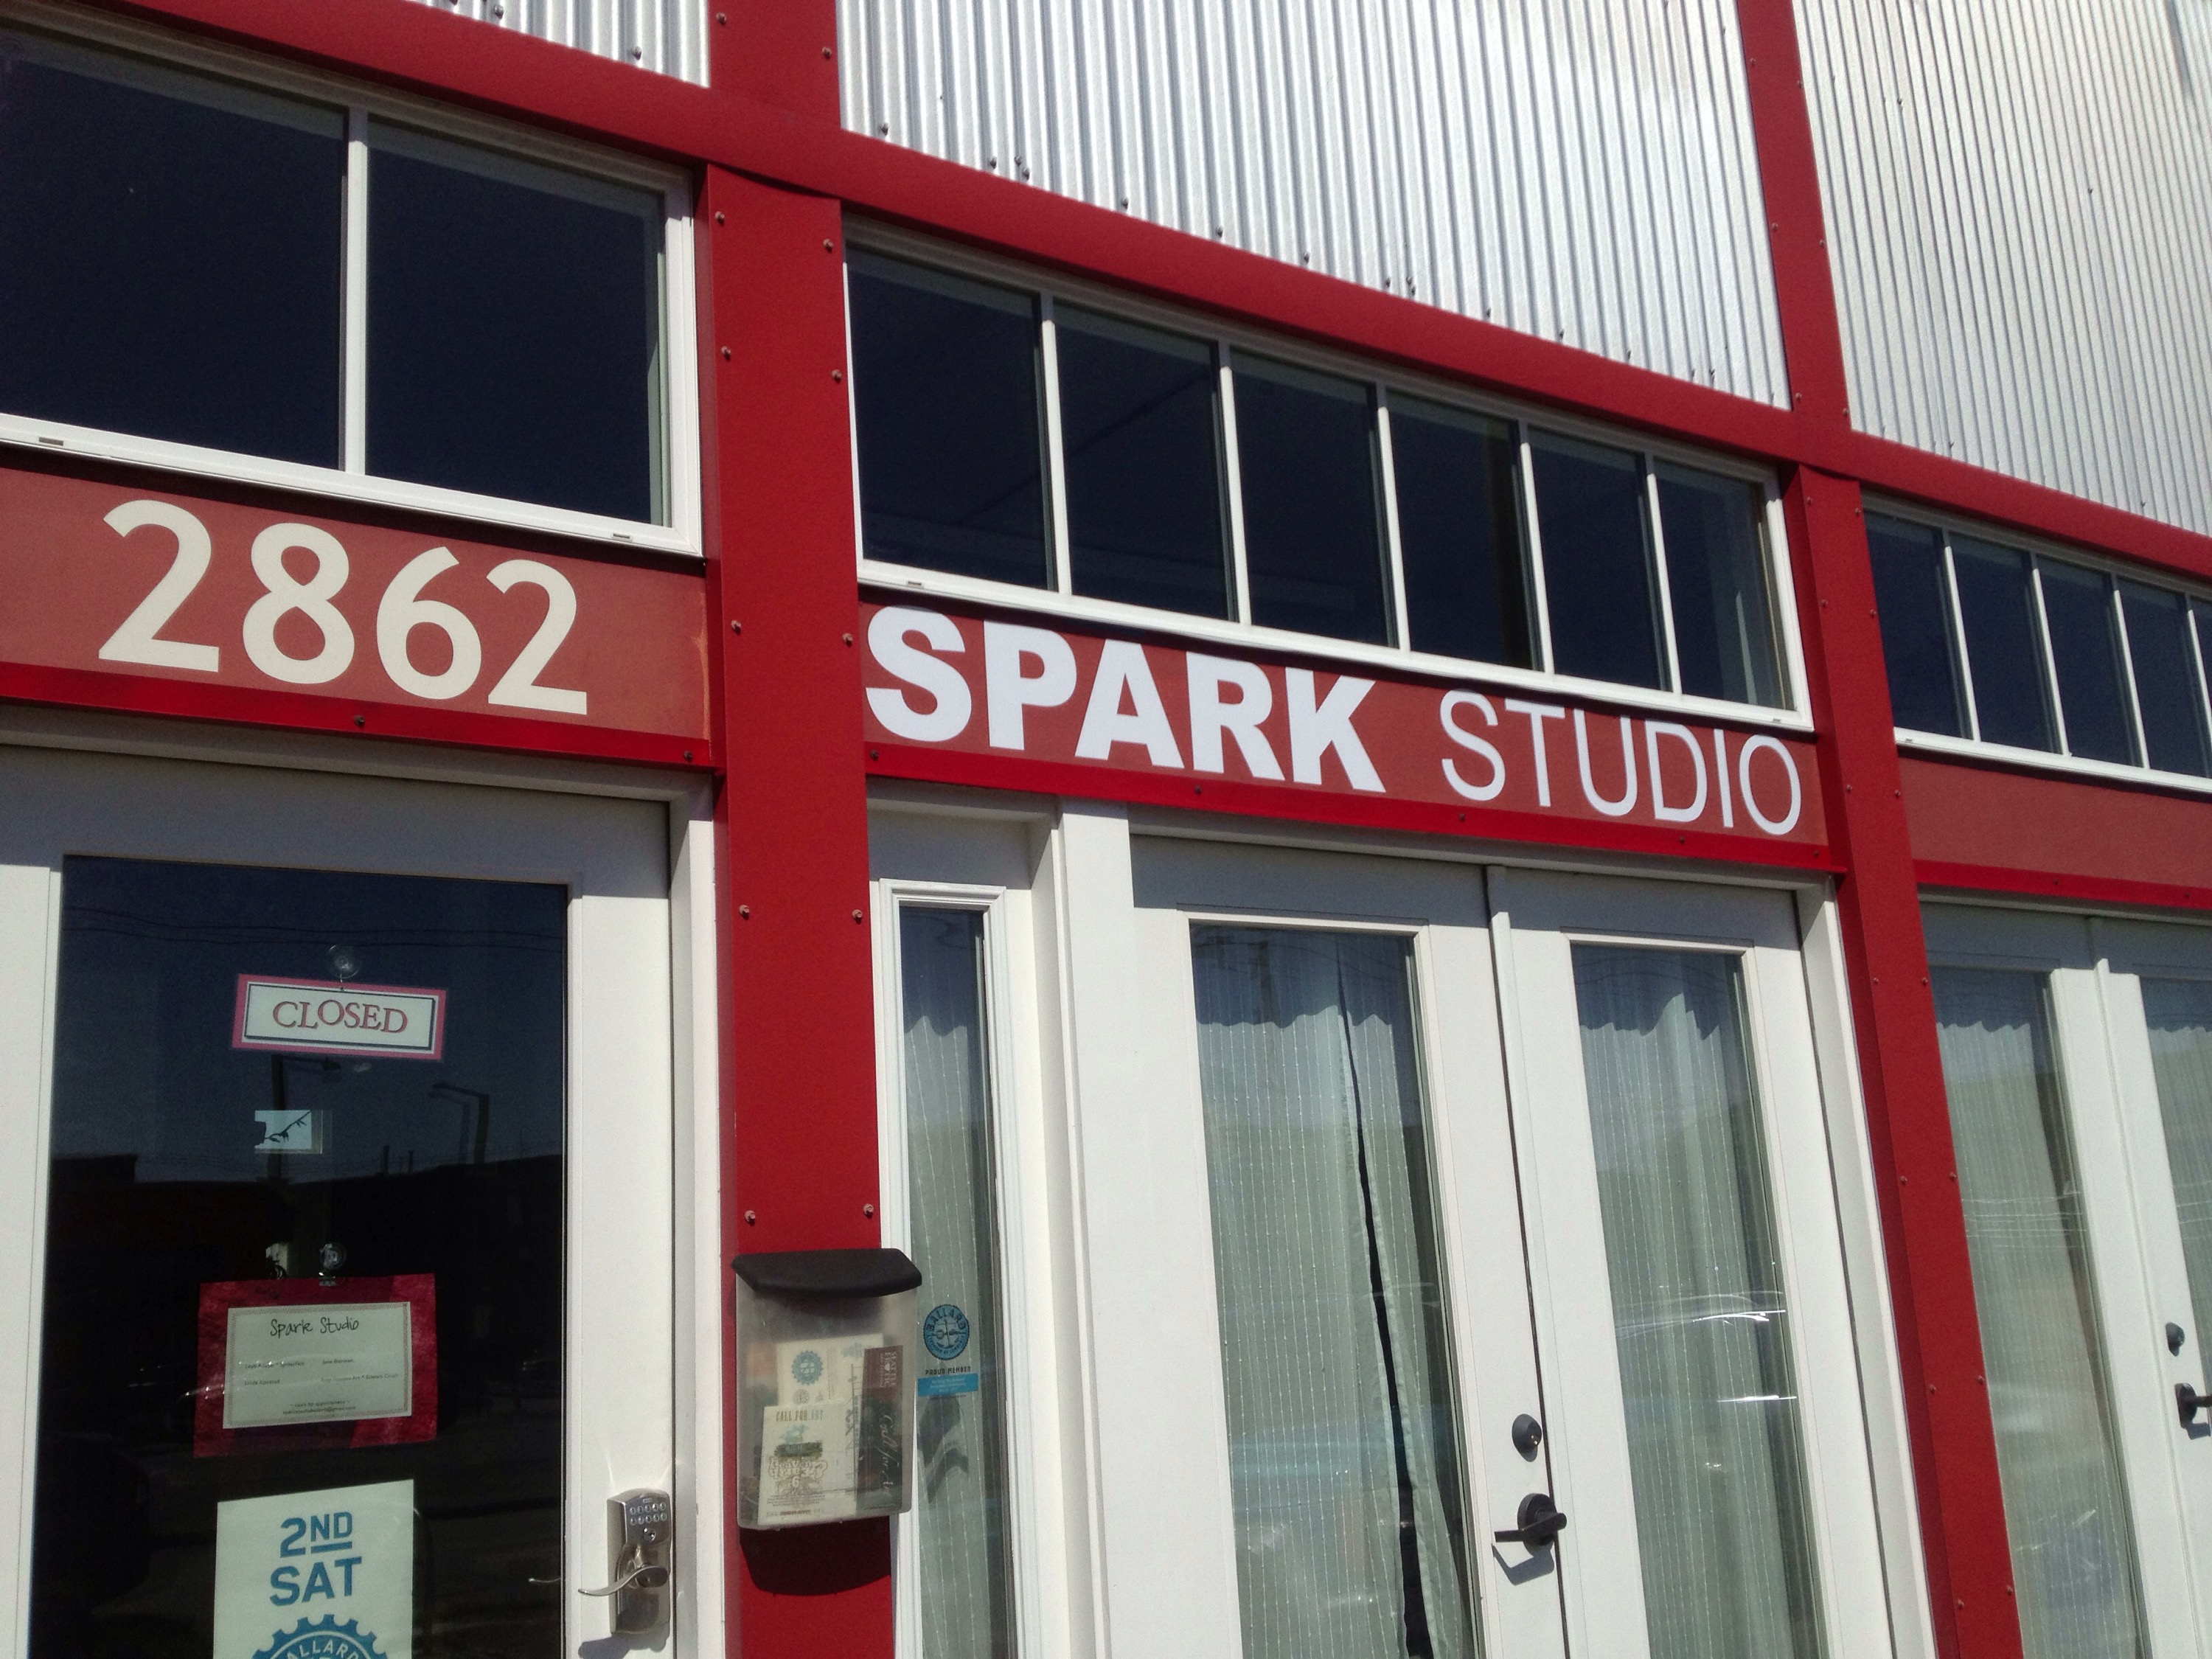
As for the studio space on the main floor of BallardWorks, I am leaving it in good hands. Amy Hamblin, the multimedia sculptor who has shared the space since April 2014 is taking over the lease. Be sure to stop in to see her on the 2nd Saturday Ballard Artwalk.

To everyone who has supported me over the years, I thank you. I couldn’t have made it this long without you. If you’d like to know more about what it takes to run an Etsy business, I have some valuable lessons to share.

Felt LED Superhero Cuff

As a bonus project, I created a kit for my fiber arts students to take home after our last class together. This activity takes a little more focus and attention than I can offer in a classroom setting, but it is the perfect activity for an adult and student to tackle together.

photo 3

The basic instructions for sewing together the components LED cuff were written by Fay of Bitwise E-Textiles.

photo 4

The primary difference between my cuff and Fay’s is the placement of the LED. After sewing the cuff exactly as she specified in her instructions, I cut a small slit in the felt and popped the LED through to the decorated side of the cuff. In the photo, you can see the round legs of the LED, but the bulb is behind the strip of red felt with the two black squares at the top.

photo 1

This cuff is a little snug for my wrist. I would recommend sewing the snaps a little closer to the edge if you want it to fit around a muscular arm. The circuit is only connected when the snaps are buttoned. Only one snap is sewn to the LED, so it is possible to wear the cuff without activating the battery and light.

photo 2

Power on! Summer’s almost here!


Pompom Creatures

Making pompoms can be a project unto itself. Wrapping yarn around your hand over and over again, then tying it in the middle and snipping the loops can provide an hour of simple entertainment for young children. Considering how easy it is to come by inexpensive yarn, this is cheap fun. Raid Aunt Sarah’s closet, ask the lady in the next cubicle who’s always knitting through meetings for her project leftovers, pillage the sale bin at your local yarn store or sign up for the 40% coupon offered by the suburban craft superstore.

20140330-121340.jpg

A bowl full of buttons and some cotton yarn took this little pompom project to another level. For my class sample, I glued ears cut from scrap bits of felt and then glued a small piece of yarn into the shape of a mouth. My pompoms are dense little nuggets after a whole lot of snipping and trimming. If you like the loose and floppy look, don’t trim so much.

20140330-121351.jpg

The students in this class range from 5-7 years old. For most students, this project required the assistance of an older sibling (we have several who come in to help on a regular basis) or an adult. Tying the yarn around the middle of the pompom is almost impossible to do on your own hand, though it would be manageable if you had a nifty plastic pompom maker

20140330-121317.jpg

We braided a tail and tied it to the “belt” around the middle of one pompom. This same belt was used to tie to the two pompoms to each other. Button eyes were sewn through the middle of the smaller pompom. Someone (who shall not be named) sewed eyes to the bigger pompom, but failed to convince her student that this was a creature that could see through its bottom, or a creature that walked upside down. The eyes were moved to the correct position and all was well in the world.

20140330-121324.jpg

Some students love sewing buttons, but others are reduced to a puddle of frustrated tears at the mention of the idea. A hot glue gun would make short work of the creature assembly, but since this is a hand sewing class, I left my hot glue at home and helped the students thread their needles. They were giddy with excitement over the adorable creatures they had made. One student opted to make a cat toy by tying a long piece of yarn to his pompom and pulling it around the classroom, happily sweeping up the yarn confetti as he went. Whatever floats your boat, as they say.

Simple Felt Stuffed Critters

This was a project that spanned the last two weeks of our session. Students started by wetfelting abstract patterned squares using merino batt from Opulent Fibers.

20140330-123059.jpg

As we are constrained by the limits of a 60 minute period with 15 minutes to clean up before the next class arrives to use the space, the students felted their batts inside a zippered plastic bag, a method I discovered here. This is a great way to contain the mess of wet felting, but still give students the experience of working with roving and seeing the transformation into a new fabric. The only thing I have changed from this tutorial is the addition of a square of bubble wrap inside the zippered bag. This gives the felt a little extra friction as the students rub through the bag.

After using this method many times with dfiferent ages in several classrooms, I have observed most students are tired of rubbing their felt through the bag long before it is done. Singing songs together will sometimes distract students long enough so they can achiever a firm felt, but not always.

The week we wet felted these pieces, most students asked me every two minutes to check on their felt to see if it was done. The only student who really felted her roving into something sturdy enough to use for our subsequent sewing project, worked without stopping and without asking me to check her work for a solid 15 minutes. When class ended, the rest of the pieces needed a little extra rubbing and some hot water to make them super sturdy, so I finished them up at my studio.

20140330-121611.jpg

The week before our class, I photocopied cartoon animal templates from the back of several craft books. My intern cut out the templates, traced them onto cardboard and cut them out again. Students traced two identical patterns onto their felt with a marker and then cut them out.

20140330-121639.jpg20140401-203917.jpg20140330-121702.jpg

They added features to their stuffies with buttons, needlefelting, and embroidery stitches. After pinning the two pieces together, they sewed almost all the way around the perimeter, using either a whip stitch of a blanket stitch. Leaving a small opening, they stuffed fluffy bits of washed wool into the cavity, then stitched their creature closed. Aren’t they sweet?

Vegetable Fabric Prints

My studio is located on the first floor of BallardWorks. The space I use was a printmaking studio for many years; now the printmakers work on the mezzanine behind me. They often pass through my studio on the way to theirs, stopping to visit along the way. Several weeks ago, Helen mentioned a project she’d done with her six-year old son. Taking inspiration from Bruno Munari’s book Roses in the Salad, they printed with vegetables. When I saw the book, I knew I had to try it with my own students.

I pulled out some heat-set fabric inks and cut pieces of muslin. Using a vinyl mat as a work surface for the inks, I demonstrated how to spread the ink with a brayer to get an even layer, and how to dab the vegetables in the ink before making a print on the fabric.

20140330-110107.jpg

20140330-110125.jpg

20140330-110221.jpg

Beware: mess ahead. It wasn’t long before someone stuck their finger in the jar of ink to get different colors on specific parts of the pepper. Before I could say ‘whoa’, students were using their fingers and hands to paint on the fabric.

20140330-110244.jpg

Art is supposed to be messy and fun, but fabric ink is expensive and not meant for hands. Next time I will spend more time explaining the difference between finger paint and fabric ink. The kids were having so much fun exploring, it was hard to pull back on the reins.

20140330-110159.jpg

This student had a plan from the beginning. Working with a pocket knife (and his mother’s approval) he started by carving a handle, then squaring the sides of his potato. Next he cut lines in the potato and made some test prints to get his design just right.

20140330-110116.jpg

20140330-110134.jpg

20140330-110314.jpg

His younger brother inked some evergreen fronds, bell peppers and onions, with his mother’s help. It was delightful to see the result of their careful and thoughtful work.


Nunofelt Workshop at Pacific Northwest Art School

What happens when you bring fine merino wool together with a light, gauzy fabric? You get texture galore.

20120512-153116.jpg

From ruffles to puckers to subtle texture, there is endless possibility when working wool through fabric and then letting the magic of felting happen.

The weekend of April 26 and 27th, I will be teaching a two-day workshop at the Pacific Northwest Art School in Coupeville on beautiful Whidbey Island. Students will spend time experimenting with various fabrics to achieve different textures. Once they have sampled, they will create a scarf, wrap or shrug.

Tuition: $255, material fee: $40, registration fee: $15

Register online at www.pacificnorthwestartschool.org or by phone 360-678-3396.

Felt a Monster, Sew a Puppet

20140310-194130.jpg

Our studio fiber class continued the puppet madness. Students needlefelted faces on pieces of felt cut from a fulled blanket I thrifted two weeks ago.

20140310-183650.jpg

After the details are put in place, the front and back are whipstitched together. This puppet has tiny black button eyes and contrasting patterned arms.

20140310-183708.jpg

This octopus puppet with felt dread tentacles is just about ready to be sewn.

20140310-183719.jpg

A reverse black cheetah gets his last yellow spots.

20140310-183731.jpg

Button eyes and embroidered features bring this puppet to life.


Upcycled Felt Wearables

Today I brought a mixed tub of fulled wool fabric and a tub of wool roving for students to transform into accessories: hats, arm warmers and headbands.

20140228-150831.jpg

Before I get any further, I need to pull out my soap box to make a clarification. The handknit wool sweater thrown in the washing machine that emerges half the size it was before washing has been fulled, not felted.

When wool is spun into yarn, then knit (or woven or crocheted) into a new fabric and subsequently shrunk through vigorous agitation in hot soap and water, this is fulling. When unspun wool, also known as roving, is transformed into a solid fabric through vigorous agitation with hot soap and water, this process is called felting. As there is water involved, it is called wetfelting. Poking roving into a base fabric with a felting needle is a third technique called needlefelting, or sometimes dry felting.

When a friend brought in a whole bunch of sweaters she was no longer wearing, I cut them apart at the seams, tossed them in a couple lingerie bags and washed them in my top-loading washing machine in hot water with the dial turned to ‘heavy agitation’. Cutting a garment into pieces allows the fabrics to shrink more evenly. Sweaters fulled as an intact garment often have sections near armpits and neckline where they have not shrunk as much as the broad expanse of front and back.

Once a sweater has been fulled, and the fabric is ready to be put to another use, it is called recycled felt or upcycled felt. This distinguishes the fabric from industrial craft felt, or felt created through wetfelting wool roving.

burningtree_orange.jpg

Recycled felt is a perfect base for embellishing by needlefelting roving into the surface. The bond made with felting needles is not permanent, as it is when fibers intermingle during wetfelting. In order for the roving to stay firmly attached to the fabric, it must be poked repeatedly. This can be time consuming and tedious, but it is important if students want their designs to last. I recommend using a Clover multi-needle tool to finish a design once all the elements are in place.

20140228-150847.jpg

These two students spent the entire class needlefelting their designs. They were working with larger pieces of fabric. It will be interesting to see what they do with them next week.

20140228-151235.jpg20140318-215917.jpg

There’s a sheep with a rainbow tail hiding on the inside of this hat. Whipstitching seams can take a little time, but it will prevent the seams from coming undone over time.

20140228-150907.jpg

This student selected some upcycled felt with a colorful motif embroidered in the wool before it was fulled. Her two pieces of fabric once needlefelted and seamed made a fantastic bird hat.

20140228-150916.jpg

This student needlefelted cat eyes, nose and whiskers on two rectangles of fabric before sewing it into a hat for her little sister. By sewing two rectangles of fabric together, the peaks naturally form pointed ears. How lucky they are to have each other.

Needlefelting Puppet Faces

This week, students in both of my Family Learning Program clases began a project that will span two weeks.

20140228-151115.jpg

Using recycled or upcycled wool fabric harvested from fulled sweaters as their base, these students needlefelted Harrisville wool to create features for puppets. Harrisville is an ideal wool for needlefelting because it has lots of crimp and the fibers are not aligned, as in many rovings sold as a sliver. It also comes in a wide array of colors and can be quickly blended with your fingertips to create even more combinations.

20140228-151128.jpg

The students traced a cardboard outline onto two pieces of fulled wool, then cut along the contour lines. Next, they worked on adding faces to one piece of felt. This student is making a cyclops with a red mouth and fangs.

20140228-151136.jpg

This student preferred to be the set decorator, creating backgrounds for the puppets he overhead various students describing. The mixed blues were going to be an ocean for another’s mermaid. He offered to make a tree for my sample owl puppet and a cave for the cyclops.

20140318-221905.jpg

Adding surface embellishment to fulled fabric is an easy introduction to felting for young children. Working on a foam pad, they can keep track of where their fingers are, reducing the chance of accidental puncture or snapped needles. The best part for many children is the ultimate flexibility of the method. Don’t like that eye placement? Rip it off and put it somewhere else. Don’t like that color? Rip it off and choose another. Can you think of another medium better suited for those paralyzed by commitment anxiety? This is also a perfect way to allow children to experiment with color and texture.

Do You Like My Hat?

This week our class sewed hats out of fleece fabric, some embellished with ears, others with pompoms.

20140226-111411.jpg

Before starting to sew, everyone made a bunch of pompoms, winding yarn around their fingers, then tying a strand of strong cotton yarn around the middle. The process was thoroughly engrossing, filling the studio with colorful yarn confetti. Two of the students decided to focus on pompoms for the whole class. It was so fun to see the different shapes made by small and big hands, with lots of trimming or not so much.

20140226-111423.jpg

After the measuring the circumference of everyone’s head, we marked and cut the fleece. The circumference ranged from 20.5-22″, with students between the ages of 3-12 years, though for grins I measured my own head and it fit right in the range at 22″.

20140226-111451.jpg

Students who wanted a slouchy hat with lots of room cut two pieces 10.5″ x 10.5″; those who wanted a more snug fit cut two rectangles: 10.5″ x 6″. Some students rounded the corners before sewing while others whip-stitched around three straight sides.

20140226-111435.jpg

We had one request for a tall, pointed hat. Drawing frommy experience trying to knit a stocking cap, if the decrease starts at the bottom, it will pop right off the head. So, we measured 5″ from the bottom before drawing the point; this was roughly the distance from the bottom of his ears to the crown of his head. How cute is this little gnome in his peaked hat and denim bib overalls?

20140226-111441.jpg

To keep the corners from sticking out, Cindy, my able teaching partner, had this student sew a tab of fabric on the inside from corner to corner. With this modification, the ears became more pronounced and the hat indented on the sides in just the right spot.

20140226-111459.jpg

Hugs all around at the end of class warm everyone’s heart.


Flickr Photos

Categories